What a vacuum fryer installation involves
A batch vacuum fryer is a self-contained pressure vessel with its own oil circuit, vacuum system, heating system, and controls — but it cannot run in an empty hall. Installation is really four projects in one: civil works (floor, drainage, access), utilities (power, water, air), oil logistics (storage, filling, filtration, disposal), and commissioning with recipe development. Getting the first three right before the machine arrives is what separates a smooth startup from weeks of on-site improvisation.
Batch vacuum fryers are classed by charge size — for example the QS-VF100 (100KG class), QS-VF150 (150KG class), and QS-300 (300KG class) — all frying at 80–100°C under vacuum with built-in centrifugal de-oiling. The installation basics below apply across classes; the exact figures (power draw, footprint, water flow) come from the supplier's data sheet for your model. Specifications are for reference only and are subject to the final supplied equipment.
Site preparation: space, floor, and delivery access
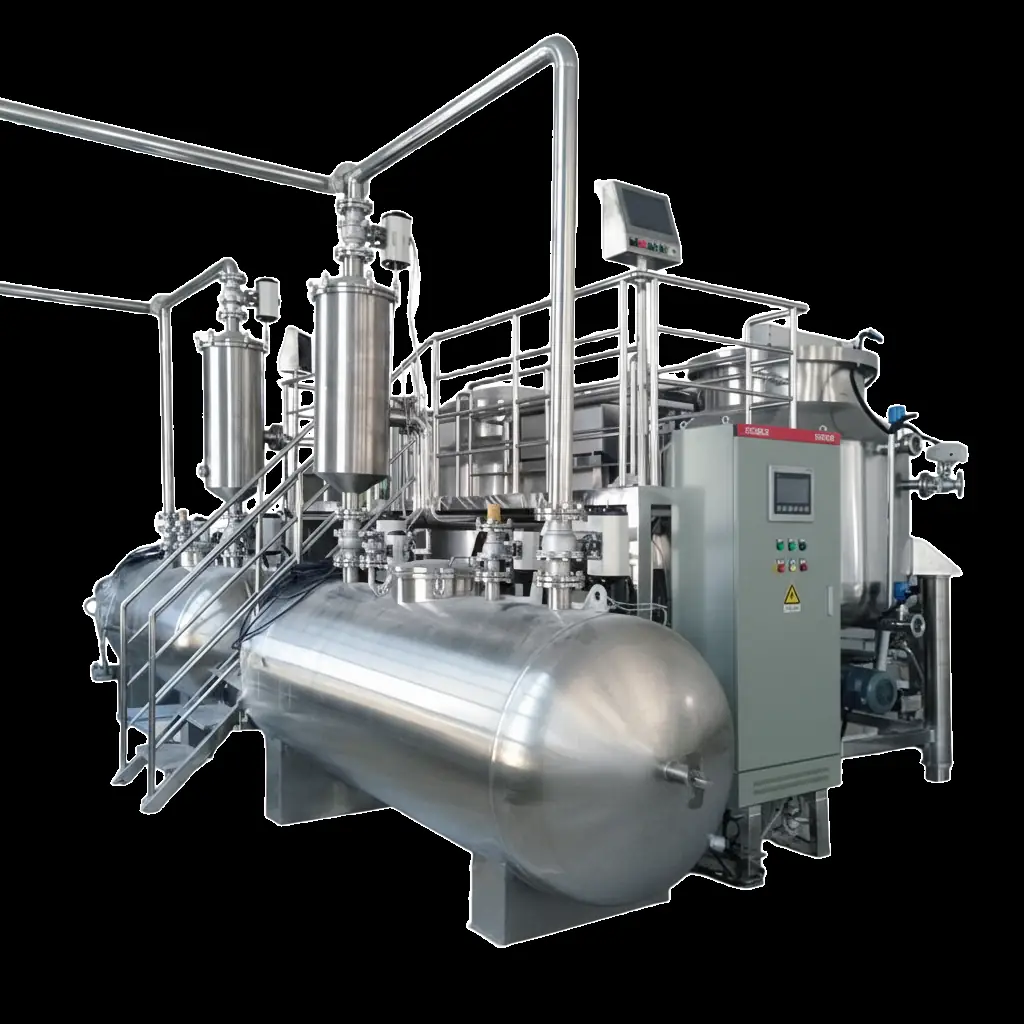
Start from the layout drawing the supplier provides, then verify each of these on site:
- Machine footprint plus working space. The vessel is only the beginning — you need clear floor on at least two sides for the frying basket (loading and discharge), space for oil drums and the filtration unit, and a preparation area for slicing and washing raw material.
- Overhead clearance. On larger models such as the QS-300 class (vessel 2600 mm H × 1600 mm D), the basket is lifted by a hoist frame. Check ceiling height and structure for the hoist, and keep the discharge zone free of pipes and cable trays.
- Floor load and finish. A charged vessel with hot oil weighs several tonnes. The floor must take the static load, and the surface should be smooth, food-grade, and sloped to a drain — oil spills and washdown water need somewhere to go.
- Delivery route. Measure every door, corridor, and ramp between the truck and the final position. The tallest vessel class arrives in large crates; discovering a low doorway on delivery day is an expensive problem.
Utilities: power, water, and compressed air
Order these against the data sheet — not against a guess — and have them live before commissioning:
- Electrical supply. Vacuum fryers are heavy electrical loads: immersion or jacket heaters plus the vacuum pump and the de-oiling motor draw a stable three-phase supply. Provide a dedicated circuit sized for the model's rated load with headroom, and proper grounding. Voltage instability shows up as temperature swings in the oil.
- Cooling water. The condenser and vacuum system reject heat continuously. Confirm flow rate, inlet temperature, and water quality — hard water fouls heat exchangers and slowly strangles performance. In regions with unreliable water, a closed-loop chiller or cooling tower belongs in the plan.
- Compressed air. Pneumatic valves and controls need clean, dry air at stable pressure. A small dedicated compressor with a dryer is the usual answer; sharing an old workshop line invites moisture into the controls.
- Drainage. Washdown and steam-condensate drainage separate from the oil waste stream. Never mix them.
Get the exact consumption figures from your supplier before the electrician and plumber start work — a utility that is "close enough" is the most common cause of commissioning delays.
Oil handling and storage
A vacuum fryer is also an oil-management station. Plan for it explicitly:
- Storage. Fresh oil comes in drums or totes; keep them in a cool, dry store away from the fryer area's heat, with spill containment.
- Filling. The vessel is filled through its oil circuit — pumping warm oil from a drum is far easier than pouring. Allow floor space for a drum pump and hoses.
- Filtration. Frying leaves crumbs and starches that scorch and darken the oil. Filter daily or per shift through the fryer's filtration circuit or a standalone filter unit, and top up oil as product absorbs it.
- Disposal. Spent oil is a controlled waste stream. Have the collection contract and labeled containers ready before the first batch — inspectors notice oil waste.
Oil quality is a quality lever, not just a cost item: product color, taste, and shelf life all degrade as oil ages. Track it in your quality records, not by calendar alone.
Ventilation and food-hygiene layout
Frying releases steam and a fine oil mist even under vacuum — and the discharge zone is hot, humid work:
- Extraction over the vessel. A canopy hood or local exhaust keeps the area breathable and protects ceilings and walls from oil film. Duct it outside, with a grease filter in the line.
- Zone separation. Keep raw-material preparation (washing, slicing) physically separated from frying and from packing. The classic line is dirty → fry → cool/season → pack, with no backtracking.
- Washdown-friendly construction. Stainless work surfaces, coved floor-wall junctions, and waterproof electrics in the fry zone save hours every week.
Commissioning and the first-batch checklist
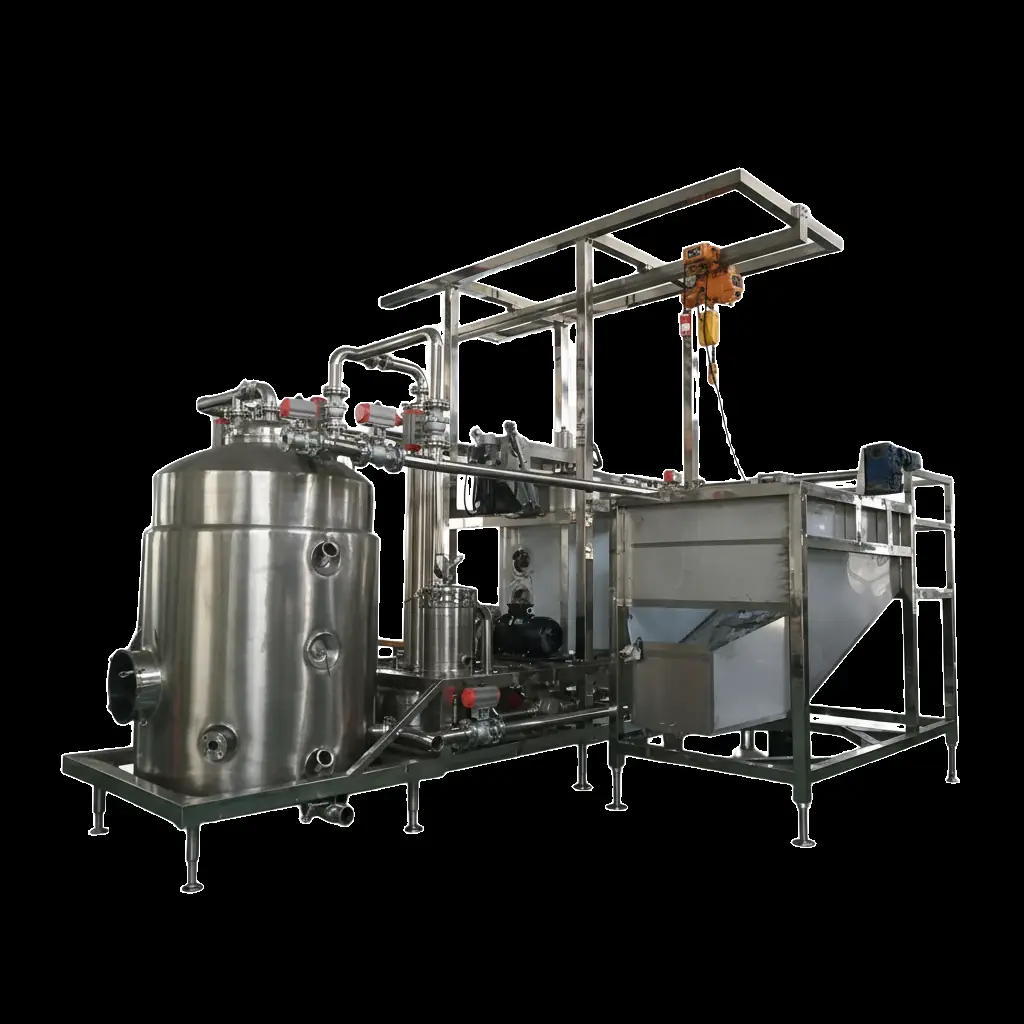
The supplier normally supervises installation and commissioning. Expect this sequence:
- Mechanical assembly and alignment — vessel, hoist, piping, and control cabinet set and leveled.
- Utility connection checks — power polarity and grounding, water flow, air pressure, drainage.
- Leak and vacuum testing — the chamber must hold vacuum before oil ever goes in; gasket seating is the usual culprit if it doesn't.
- Dry and wet runs — control logic and safety interlocks first without oil, then a heat-up and vacuum cycle with oil but no product.
- First-batch recipe development — your actual raw material, dialing in slice thickness, oil temperature, frying time, and de-oiling time until color, crispness, and oil content hit your target.
- Operator training — your team runs the machine while the technician watches. Insist your operators are present for this week; the recipe they help build is the one they'll actually follow.
Budget for recipe development: trial batches on your own raw material are standard, and the four recipe variables (slice thickness, temperature, time, de-oiling time) are locked in before serial production starts.
Daily operation: a typical batch cycle
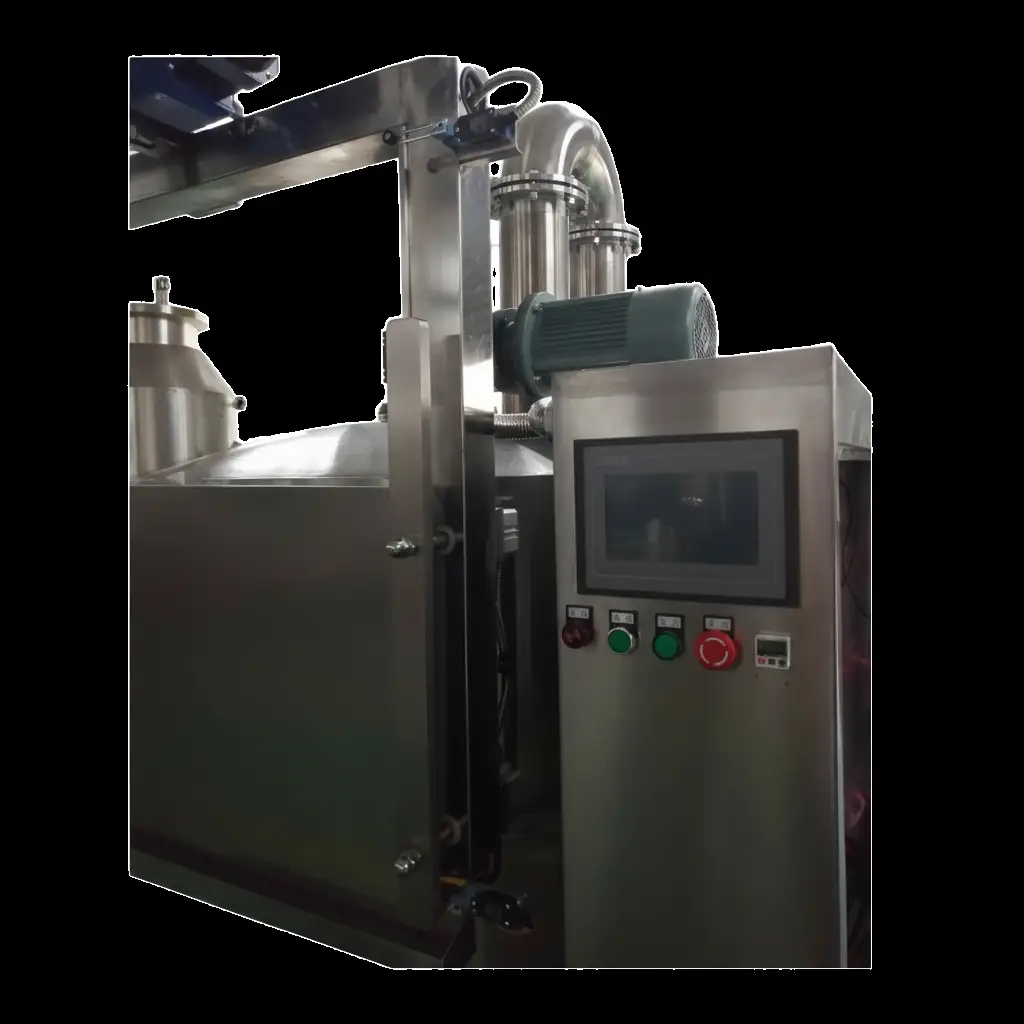
Once commissioned, batch operation is a disciplined routine. A typical cycle runs:
- Preheat — bring the oil to the recipe temperature (typically 80–100°C) and verify vacuum holds.
- Load — product prepared to the recipe's slice thickness goes into the basket; overloaded baskets fry unevenly, so respect the charge size (the machine's class — 100KG, 150KG, 300KG — is the upper bound, not a target).
- Lower and evacuate — basket into the vessel, lid closed, vacuum pulled to the recipe level.
- Fry — hold temperature and vacuum for the recipe time; the operator watches oil temperature drift and steam evolution.
- De-oil under vacuum — basket lifted and spun by the centrifuge while the chamber is still under vacuum; this step defines the "less greasy" finish.
- Break vacuum and discharge — equalize pressure, open, discharge to the cooling/seasoning line.
Log every batch: temperature profile, vacuum level, batch weight, oil top-up, and the operator's name. That log is your traceability backbone and your fastest diagnostic tool when a batch comes out wrong.
Operator routines beyond the batch
- Per shift: oil filtration, basket and vessel wipe-down, vacuum pump oil-level check, batch logging.
- Weekly: filter elements, gasket and seal inspection (vacuum integrity lives or dies on seals), control-cabinet dust check, calibrate or spot-check temperature sensors.
- Per oil change: full vessel clean-down, heater-surface inspection, and a reset of the oil tracking log.
Two habits distinguish good operators: never rush the vacuum hold before frying starts, and never skip the de-oiling spin. Almost every "why is this batch greasy" investigation ends at one of those two.
Frequently asked questions
How much floor space does a vacuum fryer need?
Beyond the machine footprint itself, allow working space on at least two sides for the frying basket, tray handling, and oil drum access, plus clearance for the vessel lid and overhead hoist on larger models. Confirm the final layout drawing with your supplier before pouring the floor, and plan the delivery route — the QS-300 class vessel alone is 2600 mm tall and 1600 mm in diameter, so doors and forklift access matter.
What utilities does an industrial vacuum fryer require?
At minimum: a stable three-phase electrical supply sized for the heater and vacuum pump, cooling water or an air-cooled condenser circuit, and compressed air for pneumatic valves. Ventilation for the frying area is also part of the installation — oil vapor and steam must be extracted. Get the exact consumption figures from the supplier's data sheet for your model before commissioning.
What are the daily operation steps of a batch vacuum fryer?
A typical cycle runs: preheat the oil, load product into the basket, lower it into the vessel, pull vacuum, fry at 80–100°C for the recipe time, lift the basket, run centrifugal de-oiling while still under vacuum, break vacuum, and discharge. Operators monitor temperature and vacuum level, and log each batch's parameters for traceability.
How often should the frying oil be changed or filtered?
Filtration happens daily or per shift; the oil is filtered after a set number of batches and topped up as product absorbs it. Full replacement follows the supplier's schedule and depends on the product — sugary or starchy products degrade oil faster than nuts or root vegetables. Track oil quality with your quality system rather than a fixed calendar.
Who commissions a vacuum fryer at my site?
The supplier typically handles installation supervision and commissioning: mechanical assembly, utility connection checks, leak and vacuum testing, and a first-batch run that dials in your product recipe. Commissioning also includes operator training — plan for your operators to be on site during that first week.
Planning a vacuum fryer installation?
Send us your floor plan and product — we'll check the layout, utilities, and which capacity class fits your daily output.
Specifications are for reference only and are subject to the final supplied equipment.