Why vacuum fryer maintenance matters
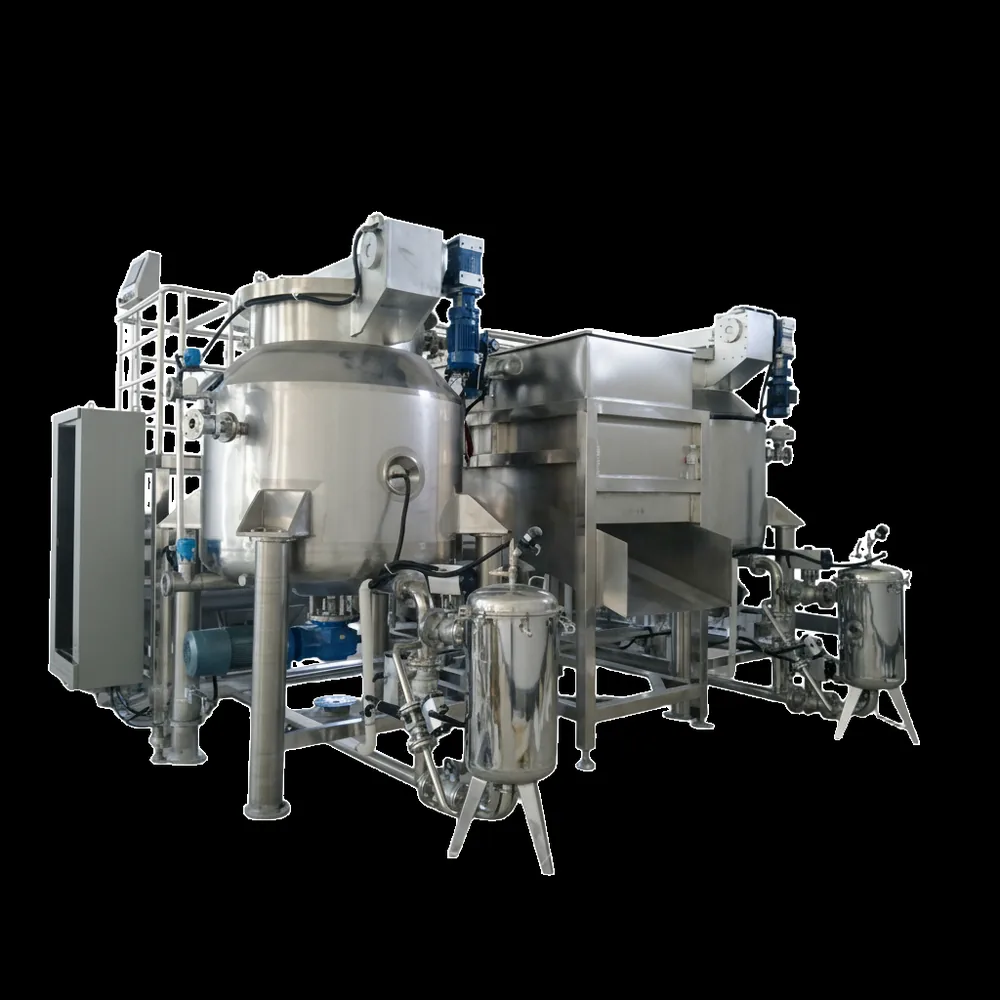
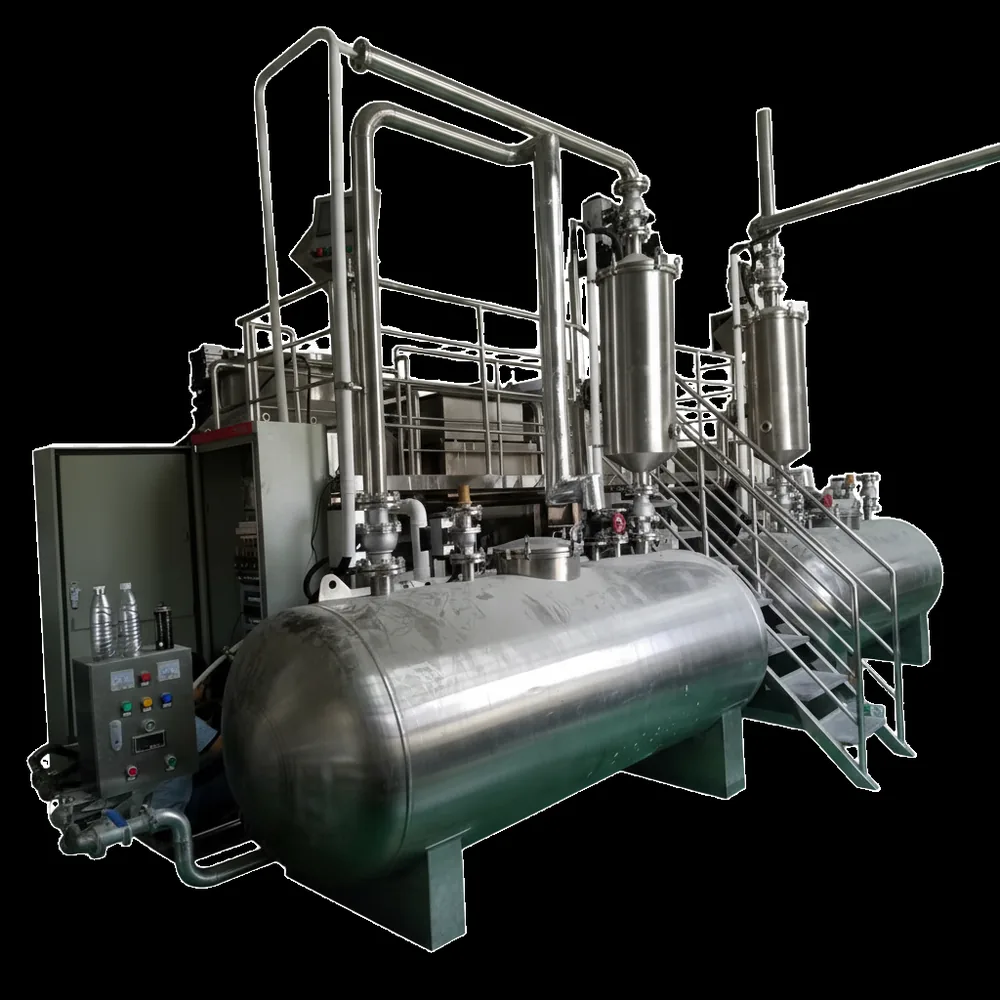
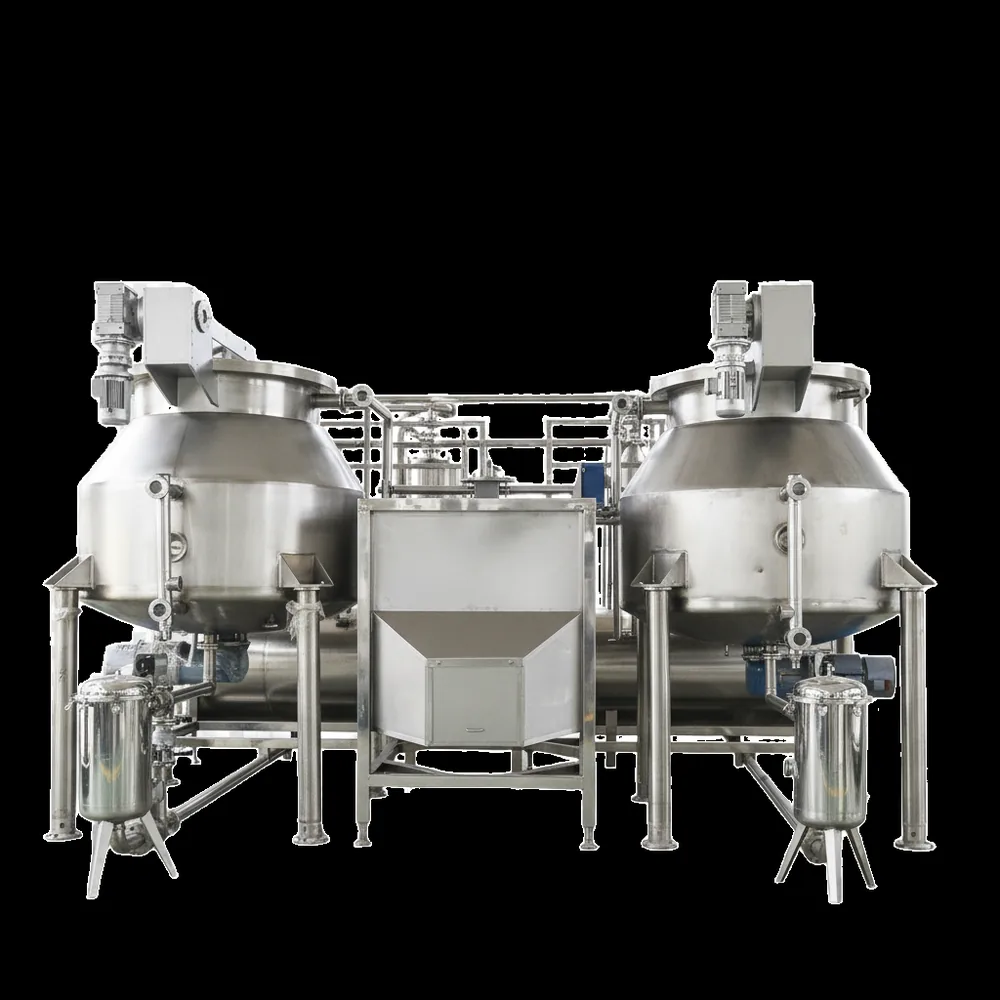
A batch vacuum fryer (QS-VF100 at 100KG per batch, QS-VF150 at 150KG, QS-300 at 300KG) is a pressure vessel running hot oil under vacuum at 80–100 °C, with a centrifuge, a vacuum pump, and a heating and control system around it. Every one of those systems degrades a little with each cycle: gaskets compress, pump oil contaminates, crumbs scorch in the oil, heating elements scale, sensors drift. Maintenance is simply the discipline of catching each of those before it becomes a batch failure or an unplanned stop.
The economics are straightforward. An hour of planned maintenance costs a fraction of a lost production day — and vacuum frying batches are long, so a machine that stops mid-batch can waste the product already loaded plus the oil heat-up time. Plants that follow a written schedule report fewer vacuum faults, steadier oil quality, and longer intervals between major services. Specifications are for reference only and are subject to the final supplied equipment.
Daily and per-batch tasks
These take minutes and prevent most problems:
- Oil filtration. Filter the frying oil daily or per shift through the fryer's filtration circuit or a standalone filter unit. Crumbs and starches left in the oil scorch, darken it, and shorten its life. Top up oil as product absorbs it.
- Vacuum pump oil check. Check the pump oil level and sight-glass condition per shift. Milky or dark oil means moisture or contamination — change it per the pump manual's schedule, not when the pump starts complaining.
- Vessel and basket wipe-down. After discharge, wipe the vessel rim, lid seating surface, and basket. Product residue baked onto seal surfaces is the classic slow vacuum leak.
- Batch logging. Log temperature profile, vacuum level, batch weight, oil top-up, and operator name for every batch. The log is both your traceability record and your fastest diagnostic tool.
- Walk-around. Before the first batch of the day: look for oil drips, loose hose clamps, unusual pump noise, and alarm lights on the control cabinet.
Weekly tasks
Once a week, go one level deeper:
- Seal and gasket inspection. Remove, clean, and inspect the vessel lid gasket and any door seals. Look for compression set, nicks, cracking, and embedded crumbs. Clean the seal grooves — a grain of fried product in the groove is enough to break vacuum.
- Filter elements. Check and clean or replace oil filter elements per the supplier's guidance.
- Vacuum system check. Time the pump-down to a reference vacuum level and compare with the commissioning baseline. A pump-down that keeps getting slower is an early warning — usually seals, sometimes pump oil or a developing leak.
- Control cabinet. Check for dust buildup and that cooling fans run; verify no new alarm history since the last check.
- Hoist and basket. Inspect chains, hooks, and the basket mesh for damage or food buildup; lubricate per the manual.
Monthly and quarterly tasks
- Sensor spot-checks. Compare oil temperature and vacuum readings against a calibrated reference. Drift of a few degrees changes frying results before anyone notices the product.
- Heating system. Inspect heater surfaces and electrical connections for hot spots, discoloration, or loose terminals. Check contactors for pitting.
- Piping and valves. Walk the oil and vacuum piping: look for weeping joints, check pneumatic valve operation and air pressure stability.
- Cooling circuit. If the condenser uses cooling water, check flow rate and strainers; hard water fouls heat exchangers and slowly strangles vacuum performance.
- Oil change clean-down. At every full oil change, do a complete vessel clean-down and inspect heater surfaces directly — this is the natural deep-clean rhythm.
Annual deep service
Once a year, schedule a full service — ideally with the supplier's technician, and always within the 1-year warranty terms for the first year:
- Vessel and pressure-boundary inspection, including lid hinges and locking mechanisms.
- Vacuum pump overhaul or rebuild assessment: vanes/rotors, seals, oil change, ultimate vacuum test.
- Full calibration of temperature and vacuum sensors against certified references.
- Safety interlocks and relief devices tested and documented.
- Heating elements megger-tested; contactors and wiring inspected.
- Hoist, basket, and centrifuge mechanical check: bearings, balance, guards.
- Review of the year's batch and maintenance logs for recurring patterns — the log review often pays for the service visit by itself.
Subsystem deep dives: seals, pump, oil, heat, controls
Vessel seals and gaskets
Vacuum integrity lives or dies on seals. Keep a spare gasket set on site at all times, store spares flat and out of sunlight, and replace on condition — not on a fixed calendar. When a gasket comes out, check the metal seating surface too: dents and corrosion there will defeat a brand-new seal.
Vacuum pump
The pump is the hardest-working component on the machine. Beyond oil level and changes, keep the inlet filter clean, protect the pump from oil carryover, and never let the pump run against a blocked line. Note the baseline pump-down time at commissioning and trend it — it is the single best health metric you have.
Oil filtration and oil quality
Oil is both a process medium and a cost item. Filter daily, top up as absorbed, and judge replacement by quality, not calendar: darkening color, off flavors, and rising product oil content are the signals. Sugary and starchy products (sweet potato, banana) degrade oil faster than nuts or root vegetables — schedule oil changes by product, not by month.
Heating system
Stable 80–100 °C frying depends on healthy heaters and tight electrical connections. Loose terminals arc and overheat; scaled heater surfaces transfer heat poorly and create hot spots that scorch oil. The monthly visual check plus the annual electrical test covers it.
Controls and sensors
The control cabinet is the operator's workstation — temperature, vacuum, and timing are set and logged per recipe. Keep it clean and dry, calibrate sensors on schedule, and treat recurring nuisance alarms as maintenance signals, not as things to mute. An alarm that fires weekly is telling you something.
Spare parts to keep on site
Order these with the machine, not after the first breakdown:
- Lid and door gasket/seal sets (at least one full spare set)
- Vacuum pump oil and filter elements
- Temperature sensors (oil and product probes)
- Heating elements or contactors, per supplier recommendation
- Fuses, indicator lamps, and common electrical consumables
- Basket mesh panels and hoist wear parts
- Food-grade lubricant for hinges and linkages
Seals and pump consumables wear on every cycle; the rest is insurance against a long wait for a small part. Ask the supplier for a recommended spares list with the quotation — it is part of the total cost of ownership.
Logs and record-keeping
Two logs run the maintenance program:
- Batch log — every batch: recipe, temperature profile, vacuum level, batch weight, oil top-up, operator. This is your traceability backbone.
- Maintenance log — every task: date, what was done, parts used, readings (pump-down time, sensor check values). Trend the numbers; the log turns "the machine feels slower" into a dated, measurable fact.
When something goes wrong, the first question is always "what changed?" — and the logs are the only honest answer.
Frequently asked questions
What is the most important maintenance task on a vacuum fryer?
Vacuum integrity: inspecting and cleaning the vessel lid gaskets and seal surfaces, and checking the vacuum pump oil level and condition. Most vacuum faults — slow pump-down, pressure drift, greasy batches — trace back to seals or pump oil. A weekly seal inspection and a per-shift pump oil check prevent the majority of unplanned stops.
How often should vacuum fryer oil be filtered and replaced?
Filter the oil daily or per shift, and top up as product absorbs it. Full replacement follows the supplier's schedule and depends on the product: sugary or starchy products degrade oil faster than nuts or root vegetables. Track oil quality in your quality records rather than on a fixed calendar.
What spare parts should I stock for a vacuum fryer?
The minimum stock: lid and door gaskets/seals, vacuum pump oil and filter elements, temperature sensors, heating elements or contactors, fuses, and basket or hoist wear parts. Seals and pump consumables wear on every cycle; everything else is insurance against a long wait for a small part.
How often should a vacuum fryer be deep-cleaned?
Wipe down the vessel and basket every batch, run a full vessel clean-down at every oil change, and schedule an annual deep service covering the heater surfaces, vacuum system overhaul, sensor calibration, and safety-device testing. Oil-change clean-downs are the natural deep-clean rhythm for most plants.
What does annual vacuum fryer service include?
A full inspection of the vessel and pressure boundary, heater elements and contactors, vacuum pump overhaul or rebuild assessment, calibration of temperature and vacuum sensors, testing of safety interlocks and relief devices, hoist and basket mechanical checks, and a review of the year's batch and maintenance logs for recurring patterns.
Want the maintenance schedule for your model?
Tell us your fryer class and product — we'll send the interval checklist and the recommended spares list.
Specifications are for reference only and are subject to the final supplied equipment.