Why ice builds up in a freeze dryer
A freeze dryer removes water from food by turning ice directly into vapour, a process called sublimation. In an industrial freeze dryer, that vapour goes to the cold trap — the coldest surface inside the machine. When the vapour touches the cold trap and the cooling coils, it freezes again and stays there as a layer of ice. Ice build-up is not a fault. It is the sign that the dryer did its job: the water that left your product is now sitting on the trap instead of in the food.
Where the ice collects
Most of the ice forms on the cold trap and the cooling coils, because those are the coldest parts of the machine — a QS freeze dryer reaches -60°C. Some frost can also appear around the chamber walls and the door frame, especially if the door seal lets in humid air during loading.
Why the ice matters for the next cycle
The trap can only hold the ice from one cycle. If the ice is still there when the next batch goes in, the trap has less room to collect new vapour, and drying slows down. Moisture left in the chamber can also find its way back onto the next batch. That is why defrosting is part of finishing a cycle, not a separate repair job.
Signs your freeze dryer needs defrosting
You do not need instruments to tell that defrosting is due. The signs are visible, and most of them show up at the end of a cycle, when you open the chamber to unload.
- A visible layer of ice on the cold trap or cooling coils.
- Frost around the chamber walls or the door frame.
- Drying takes longer than usual for the same product and the same load size.
- The vacuum is slow to reach its usual level compared with earlier cycles.
- Water or wet patches in the chamber after unloading.
- The next batch comes out damper than expected, or softer than your reference sample.
Any one of these signs is a reason to defrost before loading the next batch. Do not wait for several to appear together — by then the ice is already affecting the machine. If you are unsure whether the ice you see is normal, check the equipment manual or ask the supplier.
How to defrost a freeze dryer
Defrosting follows the same order on most industrial freeze dryers: finish the cycle, melt the ice, drain the water, dry the chamber, and inspect before the next load. The exact controls differ between models, so keep the equipment manual open while you work through the steps.
- Finish the cycle and unload: wait until the cycle has ended, break the vacuum as the manual directs, and take the product and trays out of the chamber.
- Switch the machine to its defrost or standby state: follow the manual for your model. Some machines have a built-in defrost function; others are left to warm up on their own.
- Let the ice melt: allow the ice on the cold trap and coils to melt fully. Do not chip, scrape, or pry at it — the coils and trap surfaces are easy to damage, and a scratch can turn into a leak.
- Drain the water: open the drain valve as the manual directs and let all the melt water out. Watch until the flow stops, and check that the drain is clear.
- Dry the chamber: wipe down the chamber, trap, and shelves, and leave the door open until the inside is fully dry. Any water left behind becomes the next cycle's frost.
- Inspect before the next load: check the door seal, look over the coils and trap for damage, and confirm the drain valve is closed. Record the defrost in the maintenance log.
Melting the ice
Patience is the main tool here. The ice melts on its own once the machine stops holding the trap at freezing temperature. Use only the defrost method the manual approves for your model, and never apply a heat source or tool the manual does not mention.
Draining and drying
Melt water has to leave the machine completely. A blocked or partly closed drain leaves water sitting in the chamber, and that water freezes again as soon as the next cycle starts. After draining, wipe every surface you can reach and let the chamber air-dry with the door open.
The final inspection
Before the next load, look at the door seal for cracks or trapped debris, and look over the cold trap and coils for dents or scratches. A damaged seal lets humid air in during the next cycle, which means more ice. If you find damage, do not load the machine — contact the supplier first.
Defrosting in your maintenance routine
Defrosting sits between the end of one cycle and the start of the next. Treat it as the last step of the cycle you have just finished, not as the first step of the one you are about to start. When it is part of the routine, it never gets skipped because the next batch is waiting.
Pair defrosting with the other between-cycle checks. While the chamber is open and empty, clean the trays and shelves, inspect the door seal, and check the drain. A maintenance log that records each defrost alongside each cycle gives you a record to look back on when drying performance changes — you can see at a glance whether the routine was followed.
Whoever runs the machine should own the routine. One named operator, or one operator per shift, keeps the steps consistent. If defrosting is everyone's job in general, it becomes nobody's job in particular — and that is when ice starts to carry over from one cycle to the next.
Common defrosting mistakes to avoid
Most defrosting problems come from shortcuts, not from the machine.
- Skipping defrost to save time: the time saved is lost again when the next cycle runs slowly, and the batch may come out wetter than your standard.
- Scraping or chipping at the ice: metal tools and sharp objects damage the coils and the trap. The damage may not show at once, but a dented coil or a scratched surface can lead to a leak.
- Leaving melt water in the chamber: water that is not drained or wiped away freezes again at the start of the next cycle.
- Closing a wet chamber: shutting the door while the inside is still damp traps moisture that turns into frost as soon as the machine cools down.
- Ignoring the drain: a blocked drain means the melt water has nowhere to go. Check that it runs clear every time.
- Guessing instead of reading the manual: every model defrosts a little differently. The steps in this guide describe the general process; the manual for your machine is the authority.
What to check in the equipment manual
The equipment manual is the reference for everything in this guide. Before you defrost a machine for the first time, read the defrosting section and note the points below.
- The defrost procedure for your model — whether it has a built-in defrost function, and which controls to use.
- Where the drain valve is, and how to open and close it.
- Which cleaning materials are approved for the chamber, trap, and seals.
- How to inspect the door seal, and when to replace it.
- What to do if the ice will not melt, or if water will not drain.
- The supplier's contact details for anything the manual does not cover.
If the manual does not answer your question, contact the supplier before you improvise. A wrong step during defrosting can damage the cold trap or the vacuum system, and that is a far more expensive problem than a phone call. Supreme Beast QS freeze dryers carry a 1-year warranty and an approximate 3-month lead time.
QS freeze dryer models
| Model | Drying area | Trays | Power | Batch capacity |
|---|---|---|---|---|
| QS-FD-20 | 20.16㎡ | 84 | 35kW | ~200kg/batch |
| QS-FD-100 | 103.68㎡ | 432 | 135kW | ~1t/batch |
| QS-FD-200 | 207.36㎡ | 864 | 135kW | ~2t/batch |
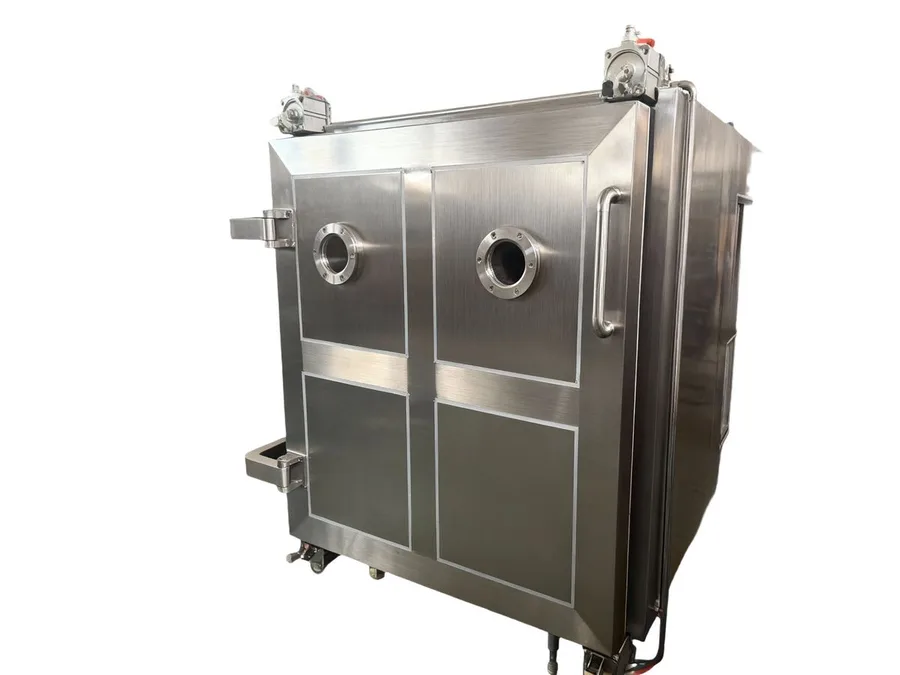
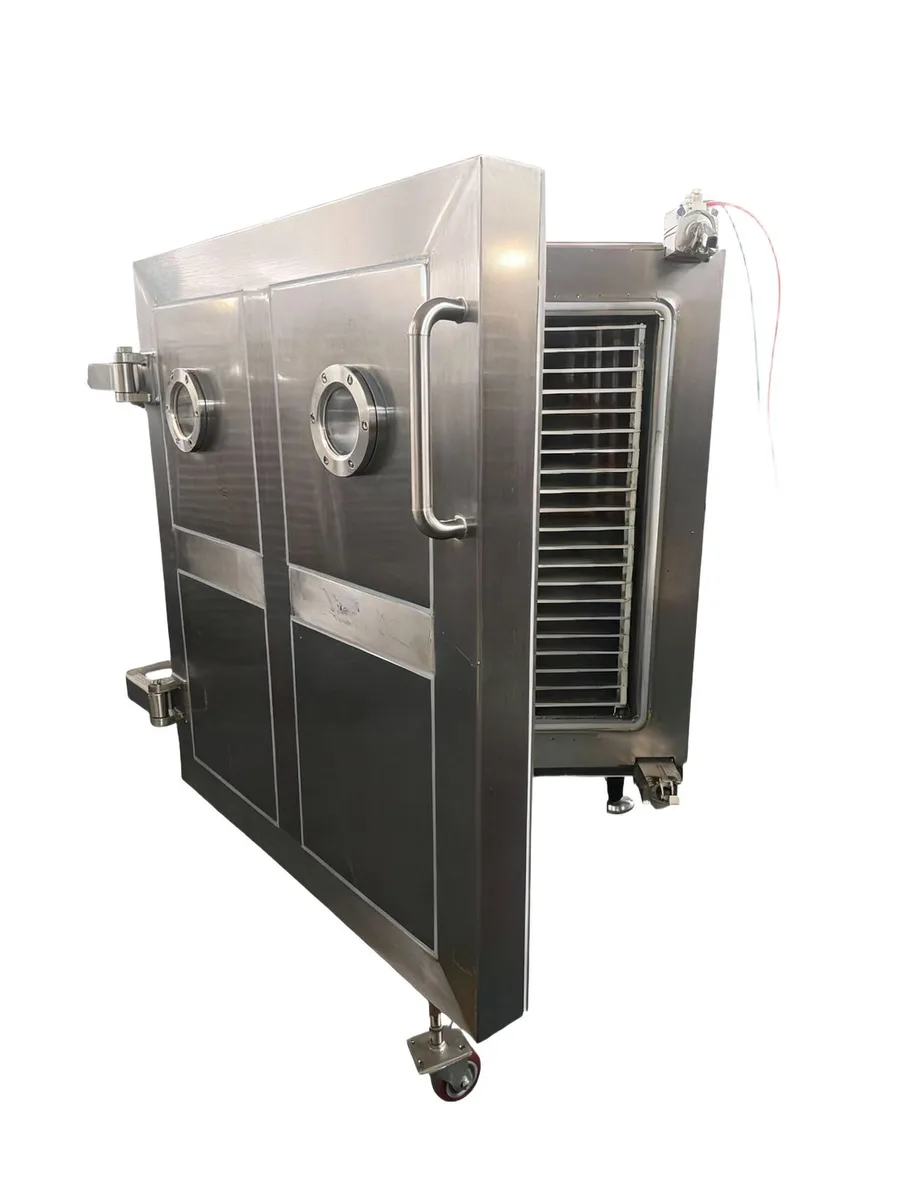
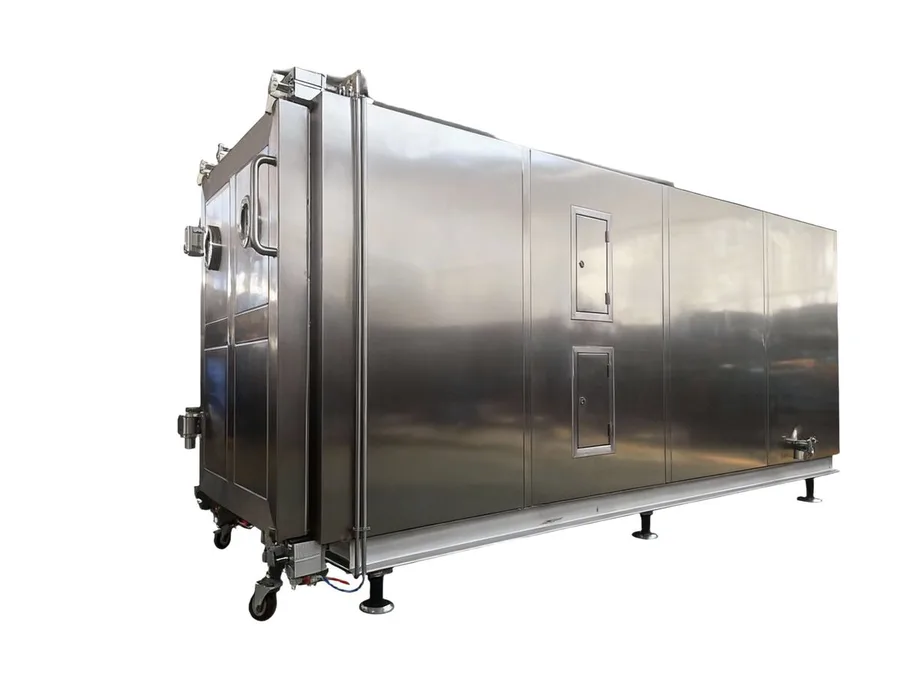
- Chamber: SUS304 stainless steel, square chamber design.
- Freezing: down to -60°C, two-stage refrigeration with R404A/507.
- Heating: four-zone heating, accurate to ±0.1°C, maximum 80°C.
- Control: Siemens S7-200 PLC with a Chinese/English touchscreen.
- Vacuum: Roots pump plus screw pump, built for quiet operation.
- Sealing: food-grade silicone seals on the front door.
Frequently asked questions
Why does ice build up in a freeze dryer?
Freeze drying removes water from food by turning ice directly into vapour. That vapour travels to the cold trap, the coldest surface in the machine, where it freezes again and stays as a layer of ice. Ice build-up is a normal by-product of the cycle, not a fault — it means the water that left your product is now sitting on the trap.
How do I know when to defrost my freeze dryer?
Look for a visible layer of ice on the cold trap or cooling coils, frost around the chamber walls or door frame, drying that takes longer than usual, or a vacuum that is slow to reach its usual level. Any one of these signs is a reason to defrost before loading the next batch. If you are unsure, check the equipment manual or ask the supplier.
Can I scrape the ice off the cold trap?
No. Do not chip, scrape, or pry at the ice — the coils and trap surfaces are easy to damage, and a scratch can turn into a leak. Let the ice melt fully, using only the defrost method your equipment manual approves for your model.
What happens if I skip defrosting?
The ice stays on the trap and leaves less room to collect vapour from the next batch, so drying slows down and the batch may come out wetter than your standard. Moisture left in the chamber can also freeze again or find its way back onto the next load. Always defrost, drain, and dry the chamber before the next batch.
Talk to us about your freeze drying line
Tell us your product and target output — we will help you size the dryer and set up a maintenance routine. Explore the range on our freeze dryer page.
Specifications are for reference only and are subject to the final supplied equipment.