Validate the product first
Vacuum frying works best with whole-shape fruits and vegetables — products where the low-temperature process keeps the original color, shape, and nutrition. Sweet potato, banana, taro, jackfruit, okra, carrots, pumpkin, lotus root, apple, and mango are proven starting points. Before buying anything, confirm which of these your target market actually buys: vacuum fried snacks sell best where the fresh version is already familiar and loved.
Run small pilot batches with a sample machine or a local processor if possible. Test three things: texture and taste (crisp, not greasy, with the product's own flavor intact), oil content and shelf stability over weeks of storage, and packaging behavior (how the chips survive transport and humidity in a sealed bag). Write down the exact slice thickness, blanching or pre-treatment, and seasoning that produced the batch you want to sell — this becomes your first product specification.
Product validation is also where the business plan gets real. Estimate how much of your hero product you can actually sell per month — through distributors, supermarkets, online shops, or your own channels — and at what packaging sizes. That number, not optimism, is what the capacity decision in the next section is built on.
Size the capacity
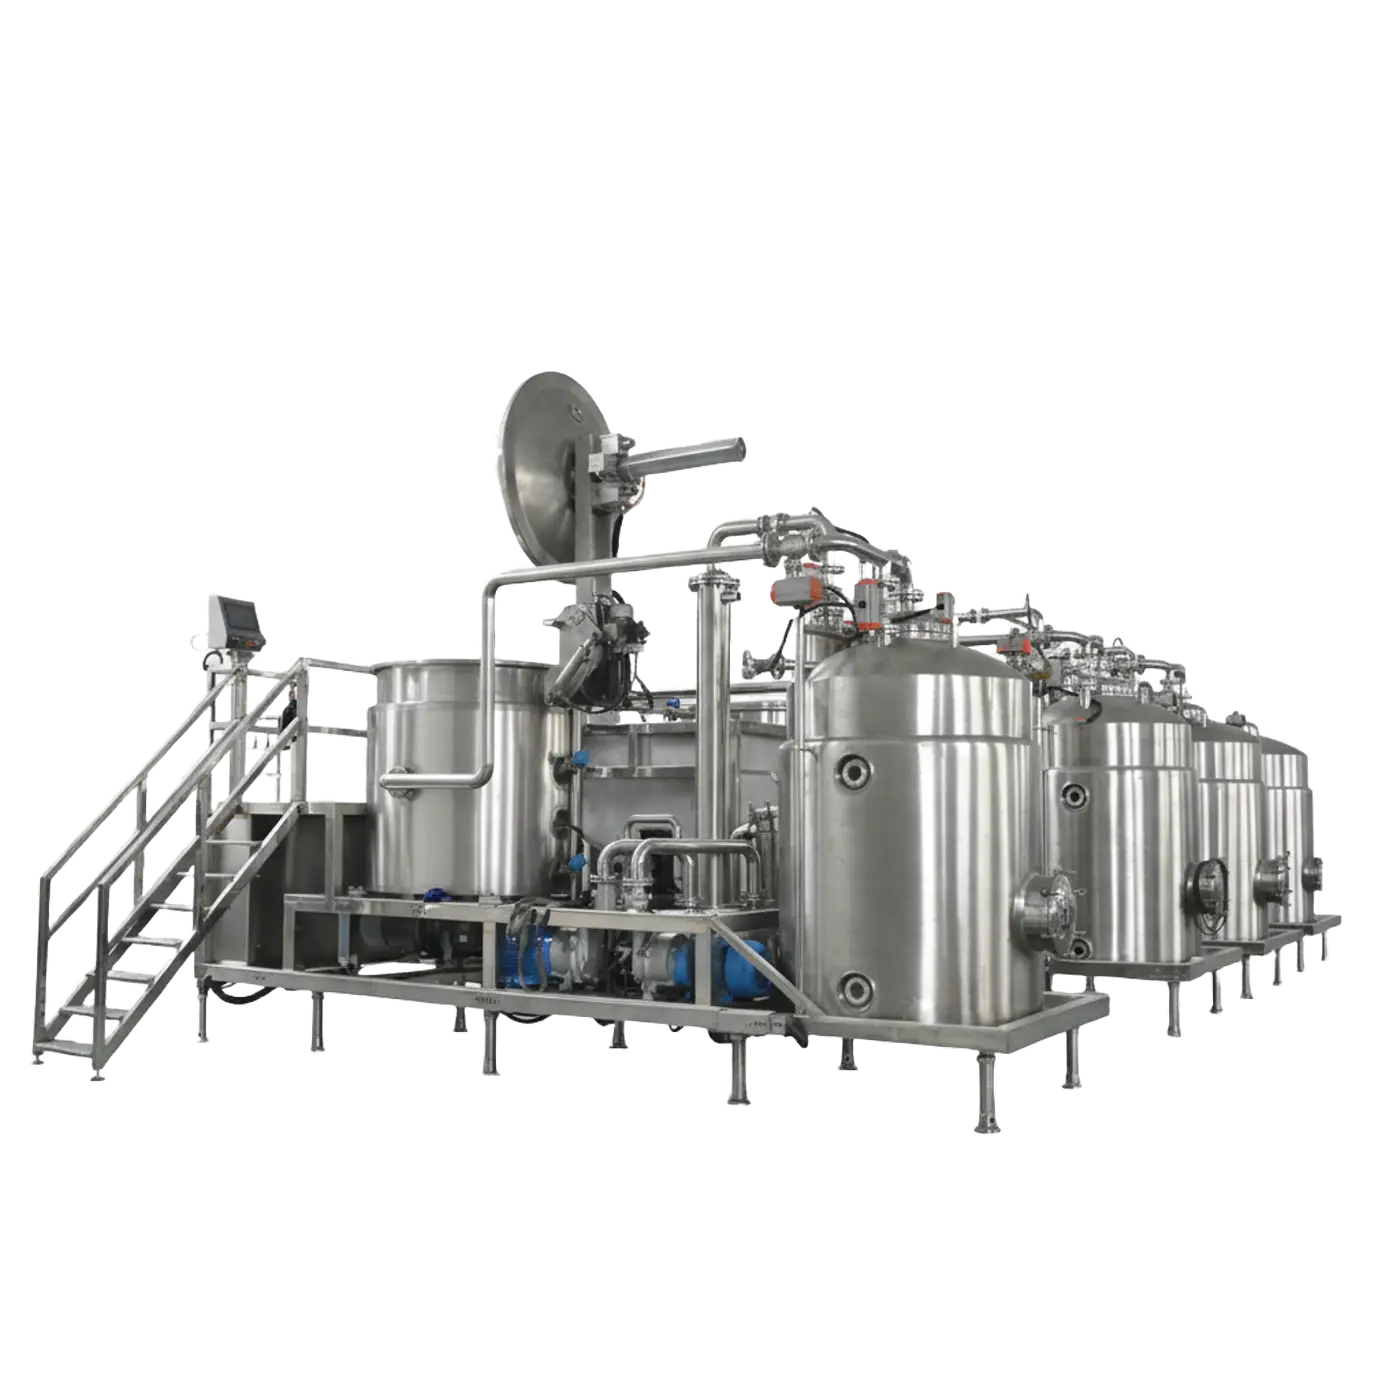
Supreme Beast batch vacuum fryers come in three classes: the QS-VF100 (100KG per batch), the QS-VF150 (150KG per batch), and the QS-300 (300KG per batch). Plan capacity as a simple product: per-batch capacity × number of machines × shifts. Pick the class whose per-batch number lines up with your validated monthly sales, then decide how many machines and shifts bridge the rest.
For a first purchase, most startups choose a single machine — usually the 100KG or 150KG class. One vessel is easier to learn on, cheaper to fill with oil, and matches the sales volume of a business still finding its customers. A single machine also keeps staffing simple: one trained operator can run the full cycle, with help only for loading, unloading, and packaging.
Growth does not mean replacing the machine. Batch vacuum fryers are modular by design: each vessel runs independently, so capacity grows by adding machines in parallel rather than rebuilding the line. Starting with one QS-VF100 or QS-VF150, then adding identical or larger vessels as orders grow, is the standard path — staggered batches keep oil management and staffing continuous, and you never bet the business on unproven volume. Specifications are for reference only and are subject to the final supplied equipment.
Plan the facility
A vacuum frying workshop does not have to be large, but it has to be planned. Walk through these points before signing a lease:
- Floor space and layout. Allow room for the fryer plus washing, cutting, seasoning, and packaging zones. Design a one-way product flow — raw materials in, finished snacks out — so nothing crosses back through a wet or raw area.
- Floor and drainage. Oil handling means the floor must tolerate occasional drips: a smooth, washable, oil-resistant surface with drainage that can be kept clean is the baseline.
- Ventilation. Hot oil, seasoning powders, and packaging heat all need air extraction. Plan extraction over the frying and seasoning areas.
- Water and power. Confirm the site's electrical supply can support the fryer and auxiliaries (the supplier will give you the connection requirements with the quotation), plus reliable process and cleaning water.
- Storage. Separate zones for raw materials, finished goods, packaging materials, and frying oil in drums — plus a cool, dry corner for spare parts.
Check your local food-production licensing requirements early: in many regions, the site inspection happens before the business license is issued, and retrofitting a non-compliant workshop costs far more than planning it right.
Build the line around the fryer
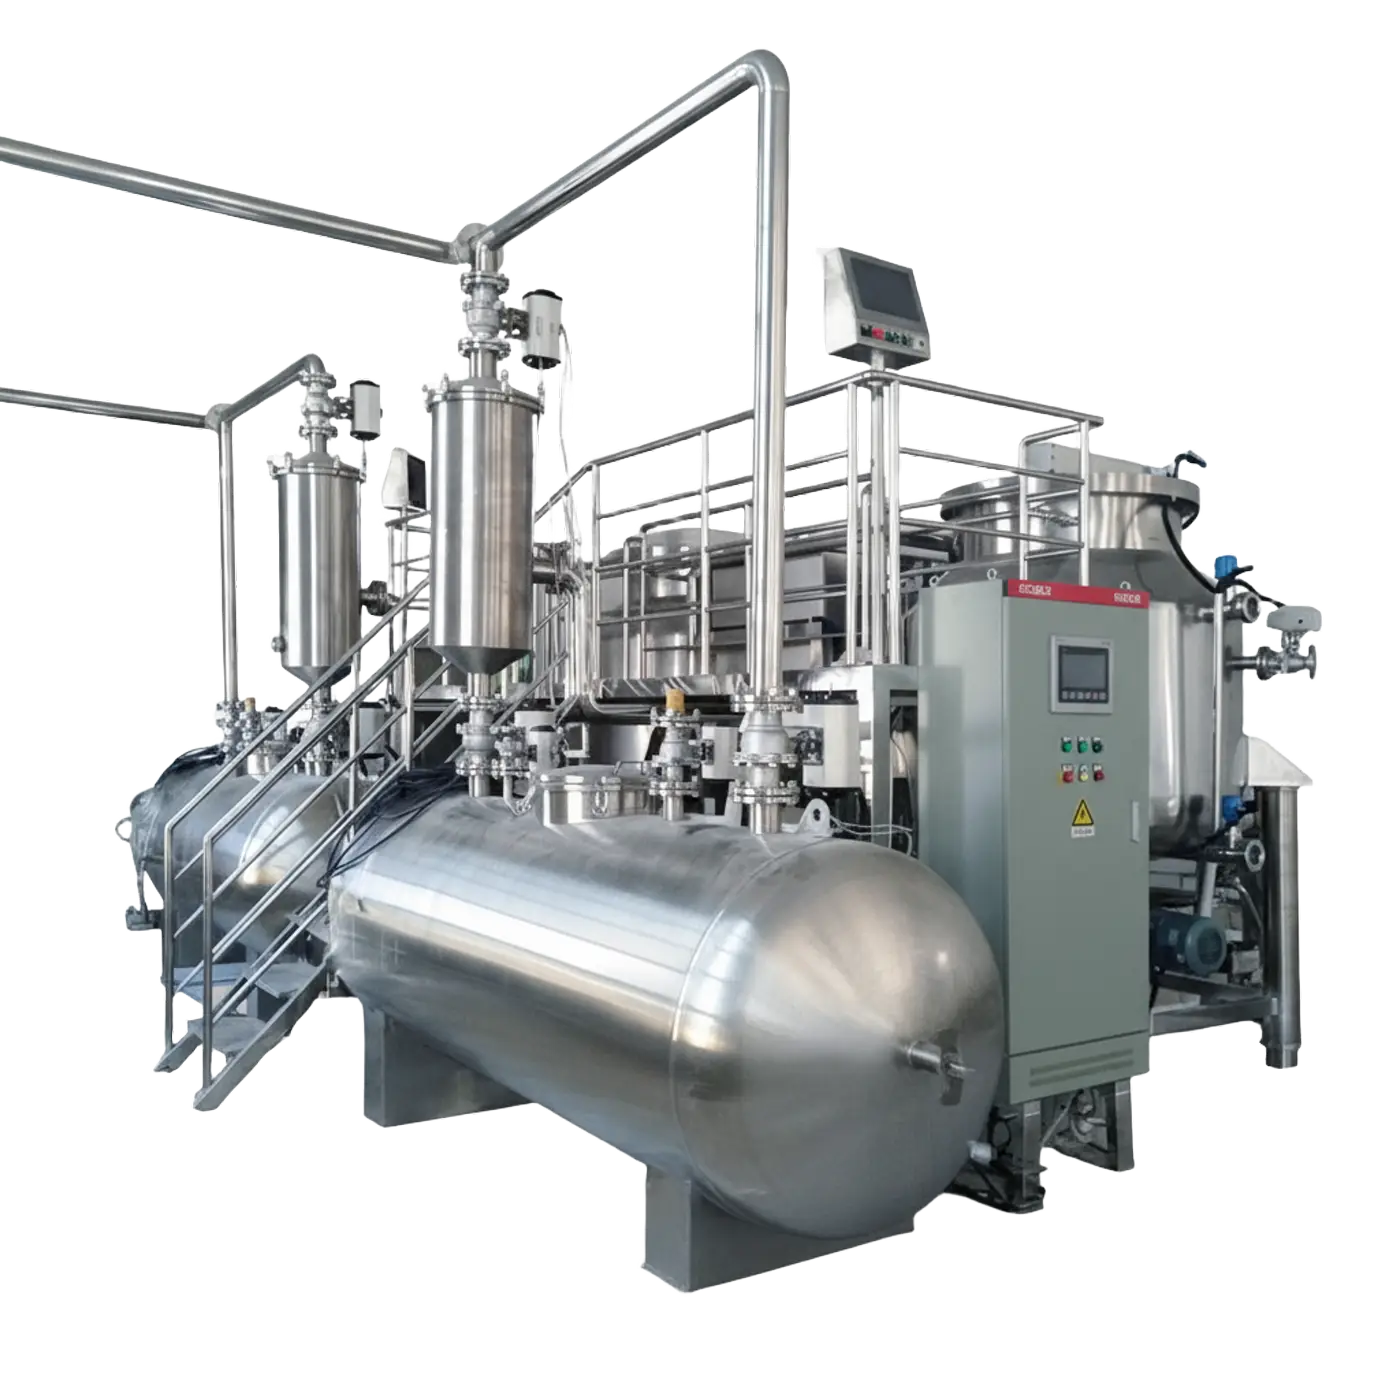
The fryer is the center of the line, but it cannot work alone. A complete vacuum fried snacks line has three zones:
- Pre-treatment (before the fryer). Washing, peeling, and slicing or cutting to a consistent thickness. Consistency matters more than speed here: even slices fry evenly and de-oil evenly, which is where crispness and low oil content come from. Depending on the product, blanching, sugar or salt soaking, and freezing may also be part of the recipe.
- The frying core. The batch vacuum fryer itself, typically with its built-in centrifuge de-oiling basket, plus the oil filtration unit that keeps the frying oil clean between batches. See the full range and specifications at vf.freezevacuumfry.com.
- Post-treatment (after the fryer). Cooling, seasoning or coating (tumbler or drum), and packaging. Seasoned snacks need an enclosed, ventilated seasoning area so powder does not drift back into the frying zone; shelf-stable packaging benefits from heat-sealed, moisture-proof bags.
Buy the line as a system, even if you phase the purchases. The fryer supplier can advise which auxiliaries match the machine class — a 300KG-per-batch fryer with a home-kitchen slicer upstream is a mismatch you will feel on day one.
Food safety and quality basics
You do not need to claim any certification to start producing safely — but you do need the basics in place from the first batch:
- Raw material acceptance. Inspect incoming produce for freshness and damage, and keep records of supplier, date, and quantity for every delivery.
- Oil management. Filter the frying oil daily or per shift, top up as product absorbs it, and replace it per the supplier's guidance and your own quality records. Degraded oil ruins flavor and shortens shelf life.
- Batch records. Log product, batch weight, temperature profile, operator, and oil top-up for every batch. This is both your traceability backbone and the data you need to repeat a good batch.
- Hygiene and cleaning. A written cleaning schedule for the vessel, baskets, seasoning area, and packaging zone; protective clothing and hand-washing discipline for everyone in the production area.
- Finished-product checks. Simple, repeatable checks on every batch: appearance, taste, moisture feel, and seal integrity of the packaging.
These records also become the evidence you need later if you pursue retailer audits or formal certifications — built on real history, not assembled after the fact.
Budget and timeline
A realistic budget has five parts:
- The fryer itself — priced by class (100, 150, or 300KG per batch), with the 1-year warranty included. Ask for a formal quotation; published prices do not exist for industrial equipment of this kind.
- Supporting equipment — washing, slicing, filtration, seasoning, and packaging machines, plus oil for the first fill.
- Installation and commissioning — the supplier's technician on site, training for your operators.
- Facility preparation — floor work, electrical, ventilation, drainage, storage.
- Working capital — raw materials, oil, packaging, and payroll for the first production months.
For the timeline, plan on an approx. 3-month lead time for the machine itself. A realistic schedule from decision to first commercial batch looks like this:
- Decision and order (weeks 1–2): product validation done, class chosen, quotation accepted.
- Manufacturing (approx. 3 months): parallel-track your facility preparation while the machine is built.
- Shipping and site prep (3–6 weeks): confirm the workshop is finished before the machine arrives.
- Installation and commissioning (1–2 weeks): supplier technician on site, operators trained.
- Trial production (2–4 weeks): run your recipes, tune slice thickness and seasoning, lock the specifications.
- First commercial batch: roughly four to five months after the order.
Step-by-step checklist
Startup checklist, in order
- Phase 1 — Validate (before any purchase): choose 1–2 hero products, run pilot batches, confirm taste/texture/shelf behavior, estimate monthly sellable volume.
- Phase 2 — Choose the machine: match per-batch class (100/150/300KG) to validated volume, get a formal quotation, confirm delivery terms and the 1-year warranty scope.
- Phase 3 — Secure the site: confirm floor space, utilities, drainage, ventilation, and local food-production licensing.
- Phase 4 — Order and build: place the machine order (approx. 3-month lead time), prepare the facility in parallel, order pre-treatment and packaging auxiliaries.
- Phase 5 — Install and commission: supervise installation, complete operator training, calibrate recipes on the real machine.
- Phase 6 — Trial then launch: trial production with full batch records, lock final specifications, produce the first commercial batch.
Frequently asked questions
How much capacity do I need to start?
For most startups, one machine is enough. A QS-VF100 (100KG per batch), QS-VF150 (150KG per batch), or QS-300 (300KG per batch) covers the full startup range — pick the class that matches your expected orders, then plan growth as per-batch capacity × number of machines × shifts. Adding a second machine later is straightforward once the market is proven.
Do I need a food factory or can I start small?
You do not need a large factory on day one. A single batch vacuum fryer plus washing, cutting, seasoning, and packaging equipment fits in a modest workshop, as long as water, power, ventilation, drainage, and a one-way product flow are in place. Check local food-production licensing requirements before committing to a site.
How long from order to first production?
Plan on an approx. 3-month lead time for the machine itself, then add shipping, installation and commissioning, and trial production. A realistic timeline from order to first commercial batch is roughly four to five months, depending on how far your facility is from production-ready when you place the order.
What products work best for beginners?
Whole-shape fruits and vegetables that your local market already eats fresh: sweet potato, banana, taro, jackfruit, okra, carrots, pumpkin, lotus root, and apple. They need little more than washing and slicing before frying, they are forgiving to process, and consumers instantly understand what they are buying. Start with one or two and master them before expanding the range.
Can I add machines later as I grow?
Yes — batch vacuum fryers are naturally modular. Each machine runs independently, so capacity grows by adding identical or larger vessels rather than rebuilding the line. Many producers start with one QS-VF100 or QS-VF150, then add machines in parallel as orders grow, staggering batches to keep oil management and staffing continuous.
Planning your first production line?
Tell us your product and expected volume — we'll recommend the fryer class and the supporting line to go with it.
Specifications are for reference only and are subject to the final supplied equipment.