Why vacuum frying needs a dedicated oil circuit
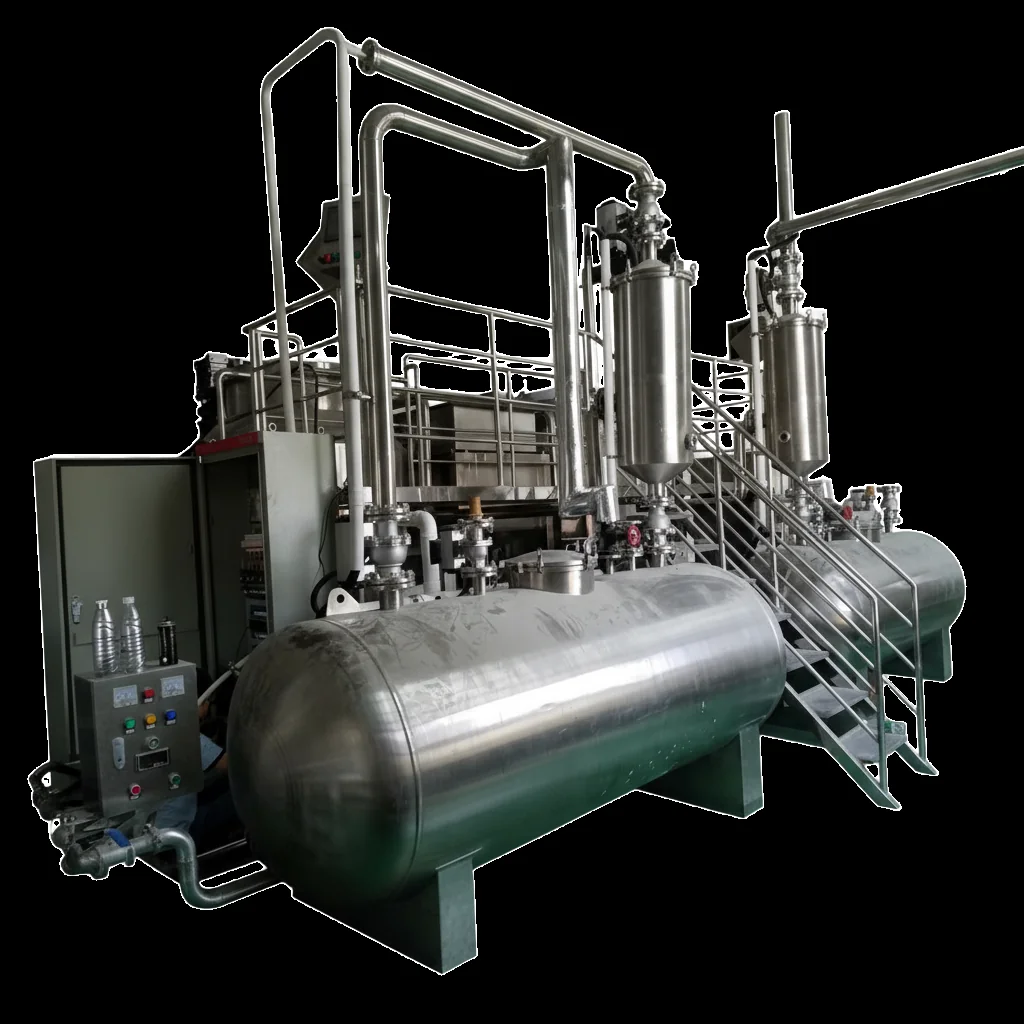
Vacuum frying runs at 80–100 °C under vacuum, much cooler than deep frying — but the oil still takes a beating. Every batch releases moisture and fine crumbs into the hot oil, and the oil itself slowly breaks down from heat and air exposure. Because centrifuge de-oiling leaves vacuum-fried snacks with less surface oil, degraded oil doesn't hide in the product — it colors and flavors every batch that passes through the bath.
This is why industrial batch vacuum fryers — the QS-VF100, QS-VF150, and QS-300 (100, 150, and 300 KG per batch) — are built around a dedicated oil circuit with storage tank, circulation loop, and filtration, typically run by the machine's Delta PLC + MCGS control system. Plants that manage oil as a process medium consistently produce brighter, cleaner-tasting product.
Per-batch filtration: the method
Filtering after every batch is the single most effective oil-management habit: crumbs and fine sediment left in the oil keep burning between batches, darkening the oil and producing off flavors that make the next batch worse. It is a compounding problem.
A practical filtration routine
- Filter while the oil is still hot. Hot oil flows faster and carries sediment out before it bakes onto surfaces. Cold filtration misses the fines.
- Drain fully, then circulate. Drain the batch oil into the circuit, pass it through the filter, and return clean oil to the tank. Check that the filter catches the fines — a filter that only stops large crumbs is not doing the job.
- Inspect and clean the filter between cycles. A clogged filter slows circulation and can push dirty oil past the media. Rinse or replace filter elements on a fixed cleaning rhythm you actually follow.
- Wipe the vessel and seals before reloading. Burnt residue on the vessel wall and seal faces re-dissolves into the next batch. A quick wipe is cheap insurance.
Filters remove particles, not dissolved breakdown products — knowing when filtration is no longer enough is the next skill.
Reading oil condition: five warning signals
Don't judge replacement from a single batch or from memory. Track these five signals batch to batch and act on the trend — when two or more move the wrong way at once, the oil is telling you something.
- Color darkening. Fresh oil is pale and clear. Progressive darkening across batches is the most visible sign of heat breakdown. Compare against a fresh-oil sample kept in a clear bottle — your eyes are more honest with a reference.
- Smell. Fresh frying oil smells neutral. A sharp, acrid, or rancid note that persists after filtration means dissolved breakdown products, which filters cannot remove.
- Foaming. More foam than usual during frying points to accumulated degradation products lowering the oil's surface stability. Heavy, persistent foam is a late-stage signal.
- Smoke. If the oil starts smoking at the same temperature you have always run, its smoke point has dropped — a classic sign of accumulated breakdown.
- Product color drift. The finished snack is the most honest gauge: when chips come out darker than your reference batch under identical settings, the oil — not the recipe — has changed.
Keep a simple per-batch log — date, product, filtration done, a 1–5 rating for color and smell. Ten seconds a batch builds a trend line that turns replacement into a calm scheduled event, not a mid-shift surprise.
Choosing an oil for vacuum frying
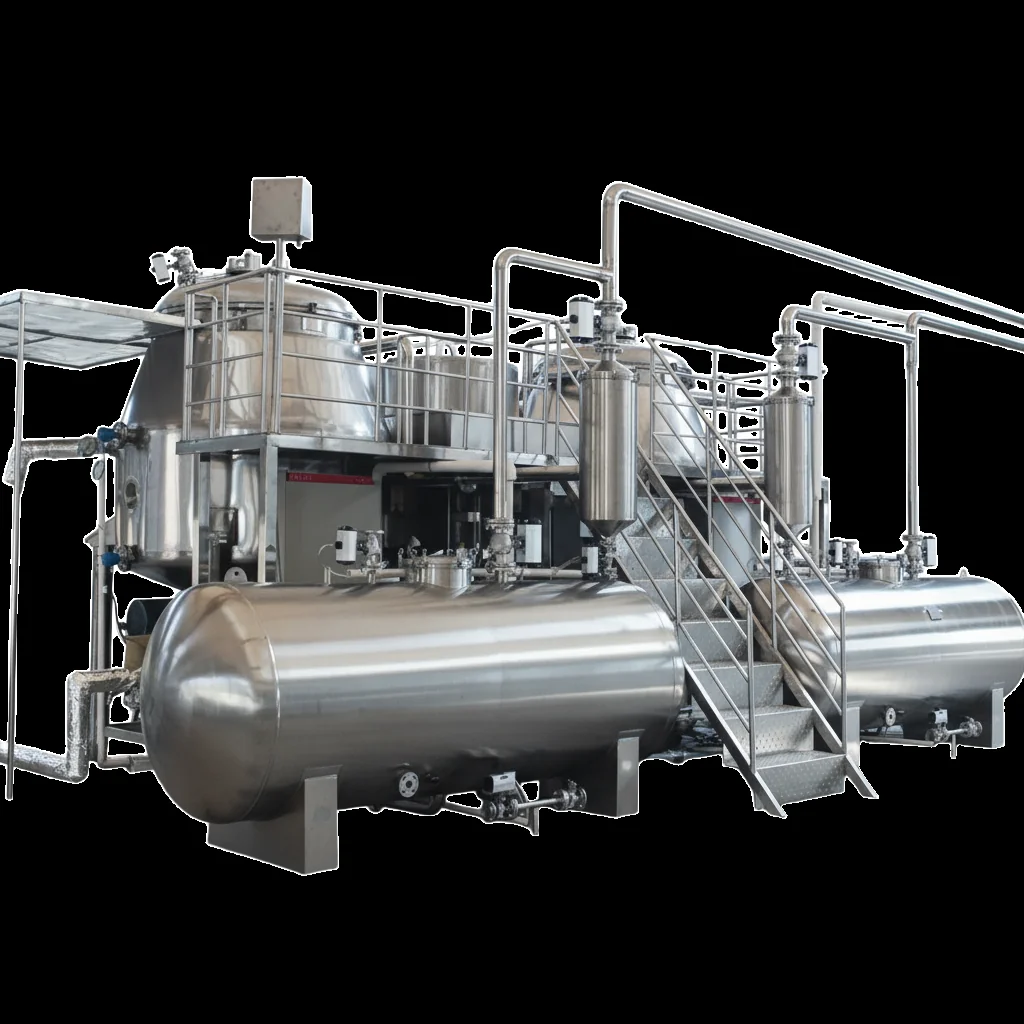
Oil choice is a product and market decision first, a technical one second:
- Oxidative stability matters most. Oils with high monounsaturated content (for example high-oleic variants) generally hold up better to repeated heating than highly polyunsaturated oils. This is about how fast the oil breaks down under your actual batch rhythm.
- Match the oil to the product's flavor. Delicate products (apple chips, banana chips) need a neutral oil; stronger products (salted broad beans, spiced snacks) tolerate oils with character.
- Match the oil to the market. Label expectations differ by region — some buyers want a specific oil named on the pack. Decide this with your commercial team before the first production batch, not after.
- One oil per machine. Mixing oil types in a single charge makes degradation behavior unpredictable and ruins your trend readings. If you change oil type, drain fully and start the log fresh.
- Use food-grade oil only. Industrial or unrefined oils contain components that break down faster and introduce off flavors.
Don't chase the cheapest oil: the cost per kilo of finished product depends on oil life as much as on purchase price — a stable oil that survives more batches at steady quality is usually cheaper in practice.
Top-up, turnover, and the replacement decision
Products absorb oil every batch, so the oil level drops. Topping up with fresh oil after each cycle applies the turnover principle: every top-up dilutes accumulated breakdown products. The more of the oil charge you refresh per batch, the fresher it stays.
- Top up little and often. Small top-ups after every batch beat one large top-up at week's end — steady dilution keeps the oil charge from ever sliding into heavy degradation.
- High-absorption products refresh the oil faster. A product that picks up more oil pulls more fresh oil in per batch. Paradoxically, lines running lean, low-absorption products need more deliberate top-up discipline, because turnover is slower.
- Replace on signals, not on the calendar. We deliberately give no "change oil every N batches" number — the right moment depends on the oil type, the product, the batch rhythm, and how disciplined your filtration is. Watch the five signals above: when the trend says the oil is spent, schedule a full change.
- Plan full changes as scheduled work. A full change means draining completely, cleaning the tank and circuit, and starting fresh — slot it into the production plan, not into an emergency break.
Oil storage and waste-oil handling
Between production days
- Filter before storing. Never store unfiltered oil — sediment keeps reacting and the stored oil starts the next production day older.
- Keep it closed, cool, and dark. A closed food-grade container away from light and heat. Air, light, warmth, and residual moisture all accelerate degradation, even with the fryer idle.
- Re-inspect before reuse. Check color, smell, and clarity before the oil goes back into the fryer. Oil that looks or smells off should not return — downgrade or discard it.
Used oil
- Never pour waste oil into drains. Collect it in dedicated containers for licensed collection or recycling — most regions have dedicated waste-oil collection channels, and many pay for volume.
- Keep waste oil separate from fresh oil. Label containers clearly; a mix-up is an expensive and embarrassing mistake.
- Document disposal. A simple log of quantities and collectors keeps you compliant and shows professional buyers you run a serious operation.
How oil quality shows up in the finished product
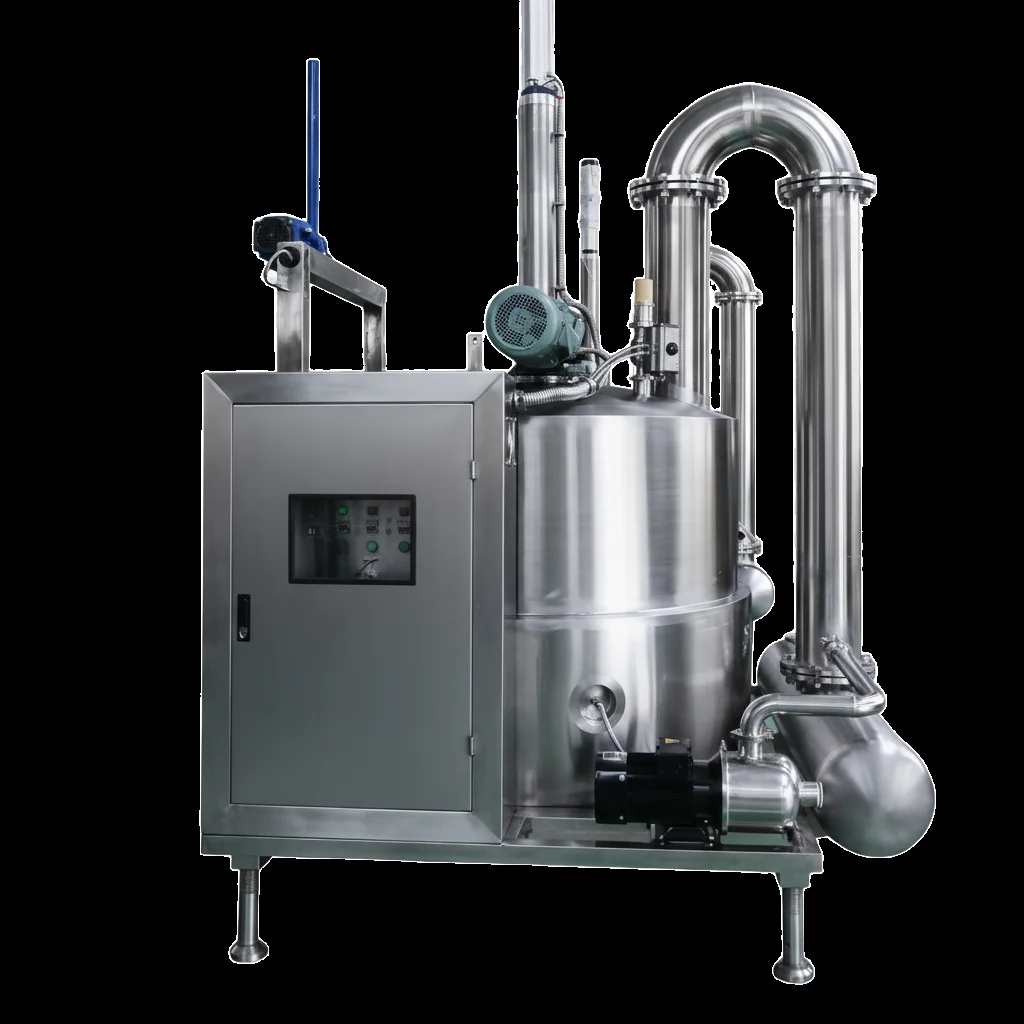
Oil quality shows up directly in the pack:
- Color. Degraded oil darkens product surfaces, erasing vacuum frying's color-retention advantage.
- Taste and smell. Off notes from spent oil are impossible to season away. Clean oil lets the product's own flavor lead.
- Texture and mouthfeel. Heavily degraded oil leaves a heavier, greasier impression even after centrifuge de-oiling.
- Shelf life. Breakdown products in absorbed oil go rancid faster than fresh oil does — a pack fried in tired oil ages faster on the shelf.
- Food safety basics. Chronically overheated, unfiltered oil accumulates unwanted compounds. Sensible oil management is part of a responsible food process — hygiene in the oil circuit belongs to the same discipline as hygiene on the line.
Quick reference: QS batch vacuum fryer classes
| Model | Batch size | Notes |
|---|---|---|
| QS-VF100 | 100 KG/batch | Entry class: market testing, small lines |
| QS-VF150 | 150 KG/batch | Mid-volume production |
| QS-300 | 300 KG/batch | High-volume; vessel 2600 mm (H) × 1600 mm (D) |
Batch vacuum frying at 80–100 °C with centrifuge de-oiling under vacuum; Delta PLC + MCGS controls. Specifications are for reference only and are subject to the final supplied equipment.
Frequently asked questions
Why filter frying oil after every batch?
Each batch leaves crumbs and fine sediment in the oil. If these stay in the circuit, they keep burning between batches and accelerate the whole oil charge's degradation — darkening color, off flavors, and smoke. Filtering every cycle removes that fuel for further breakdown and is the single most effective habit for extending oil life.
What are the signs that frying oil is degrading?
Watch for five signals: the oil darkens noticeably, it develops a sharp or rancid smell, it foams or smokes more than usual, the finished product's color drifts darker, and you taste or smell burnt notes in the snack. Judge by trend across batches, not by a single batch, and act on the pattern.
What is oil turnover and why does it matter?
Turnover describes how much of the oil charge is refreshed over time through topping up with fresh oil. Products absorb oil each batch, so topping up after each cycle dilutes accumulated breakdown products with fresh oil. Faster turnover slows degradation — high-absorption products keep oil fresher, and frequent small top-ups beat rare large ones.
Which oil should I use for vacuum frying?
Choose a food-grade oil with good oxidative stability for your product and market: high-oleic oils generally hold up better to repeated heating. Match the oil to the product's flavor profile and to what your buyers accept on the label. Keep one oil type in a machine — mixing oils makes degradation behavior unpredictable.
Can I store the oil between production days?
Yes, with care: filter the oil first, then keep it in a closed, food-grade container away from light and heat. Air, light, and residual moisture accelerate degradation even when the fryer is idle. Before reusing oil that has sat idle, check its color, smell, and clarity — oil that looks or smells off should not go back into the fryer.
Talk oil strategy before your first batch
Tell us your product and target output — we'll help you pick the right capacity class and set up an oil-management routine that protects your product quality from day one. Explore the range on our vacuum fryer page.
Specifications are for reference only and are subject to the final supplied equipment.