The physics, in plain language
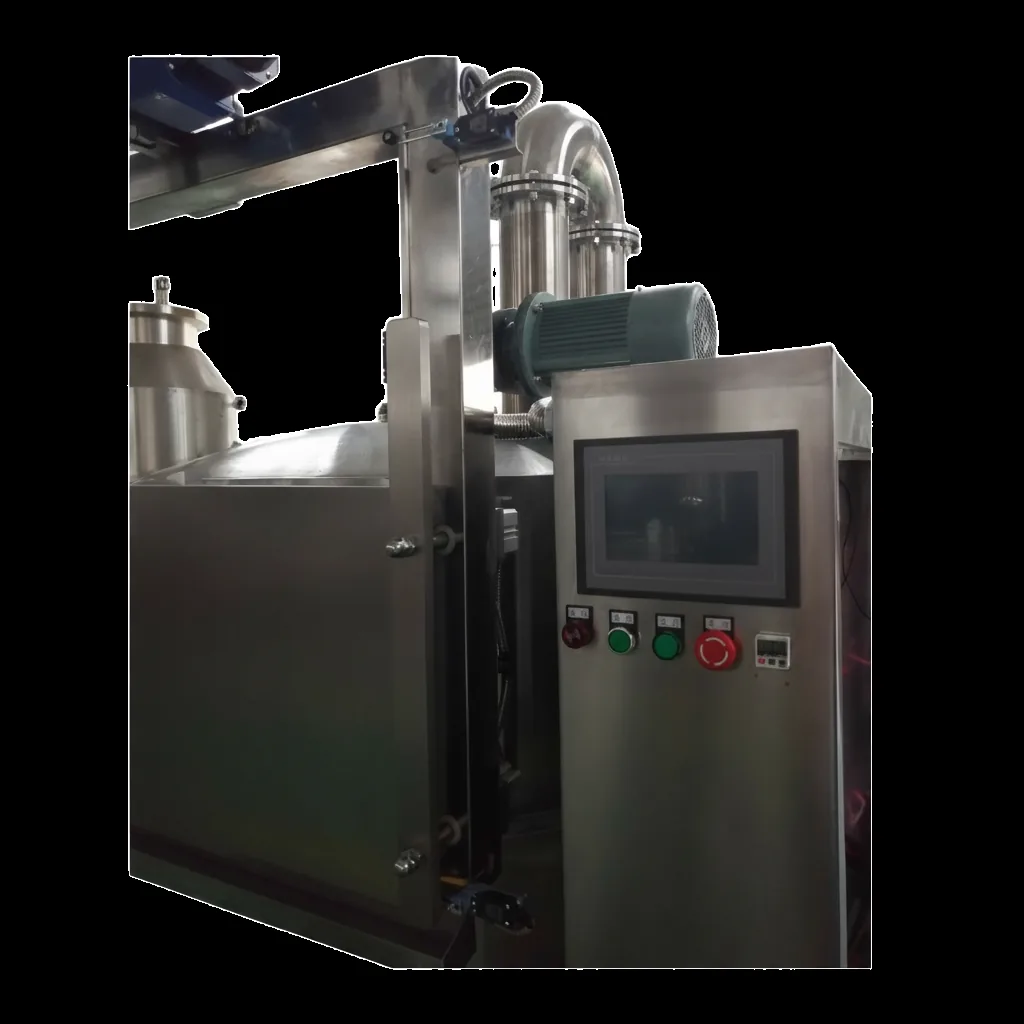
Water boils when its vapor overcomes the surrounding air pressure — 100 °C at sea level. Pump the air out of a sealed vessel and that tipping point arrives at a far lower temperature. That is the trick behind vacuum frying.
Frying is about driving moisture out quickly and evenly, so crisp texture replaces the water that was there. A conventional fryer needs ~170 °C because at normal pressure nothing below that works fast enough. Under vacuum, the same moisture escape happens at 80–100 °C.
Why does that matter for the product? Three reasons:
- Color. Browning reactions accelerate steeply with heat. At 80–100 °C, fruit and vegetable slices keep close to their fresh color instead of darkening toward brown. This is why vacuum-fried apple, banana, and pumpkin chips look like the fruit they came from.
- Shape. Violent boiling at high temperature tears fragile slices apart. Gentle, even vapor release at low temperature lets thin slices hold their cut shape through the whole batch.
- Flavor. Delicate, volatile flavor compounds that flash off or burn at high heat survive a cooler process. The snack tastes like the ingredient, not like the frying medium.
The 80–100 °C operating window
Industrial batch vacuum frying — the process run by machines like the QS-VF100, QS-VF150, and QS-300 (100, 150, and 300 KG per batch) — centers on an 80–100 °C operating window under vacuum. That range is the working band inside which different products find their own sweet spot.
- Lower end (~80 °C): best for delicate products — thin fruit slices, leafy materials, anything where color preservation is the selling point. Cycle timing runs longer to compensate.
- Upper end (~100 °C): suits denser products — root vegetables, beans, meat pieces that carry more moisture or a thicker cross-section. The extra driving energy shortens the cycle without harsh browning.
The right setpoint for a product is found by trial, not by theory: run a reference batch at a mid-window temperature, judge color, texture, and taste against your target, then adjust in small steps. Once found, that setpoint becomes part of the recipe — locked in on the machine's touchscreen and used identically every batch.
Too hot vs too cold: what goes wrong
Temperature errors show up in the product before they show up on the gauge. Learn to read both directions.
Running too hot
- Surface browning runs ahead of the inside. The product looks done before it is done: the outer layer darkens while moisture still sits in the core, leaving uneven texture.
- Color advantage erodes. Excess heat pushes the same browning reactions you were trying to avoid, and the bright, fresh-looking color degrades.
- The oil pays too. Heat is the main driver of oil breakdown: every degree of unnecessary heat shortens the oil charge's useful life and brings the replacement decision forward.
Running too cold
- Cycles stretch out. Without enough driving energy, moisture leaves slowly. Longer residence time in hot oil is its own quality risk, not a safety margin.
- Texture goes soft, not crisp. Crispness comes from fast, complete moisture escape. A cool, lingering fry leaves the product limp.
- Oil load rises. Slower moisture escape means the product sits in oil longer, picking up more of it for the centrifuge to remove afterward. Cold frying is often the hidden cause behind greasy-feeling product.
The practical rule: if the product exits consistently darker than your reference batch with all else unchanged, run slightly cooler. If it exits soft or greasy, run slightly warmer. Adjust in small steps and give the new setpoint a full batch cycle before judging — temperature changes need time to show their effect.
Holding the temperature: PLC control and setpoint discipline
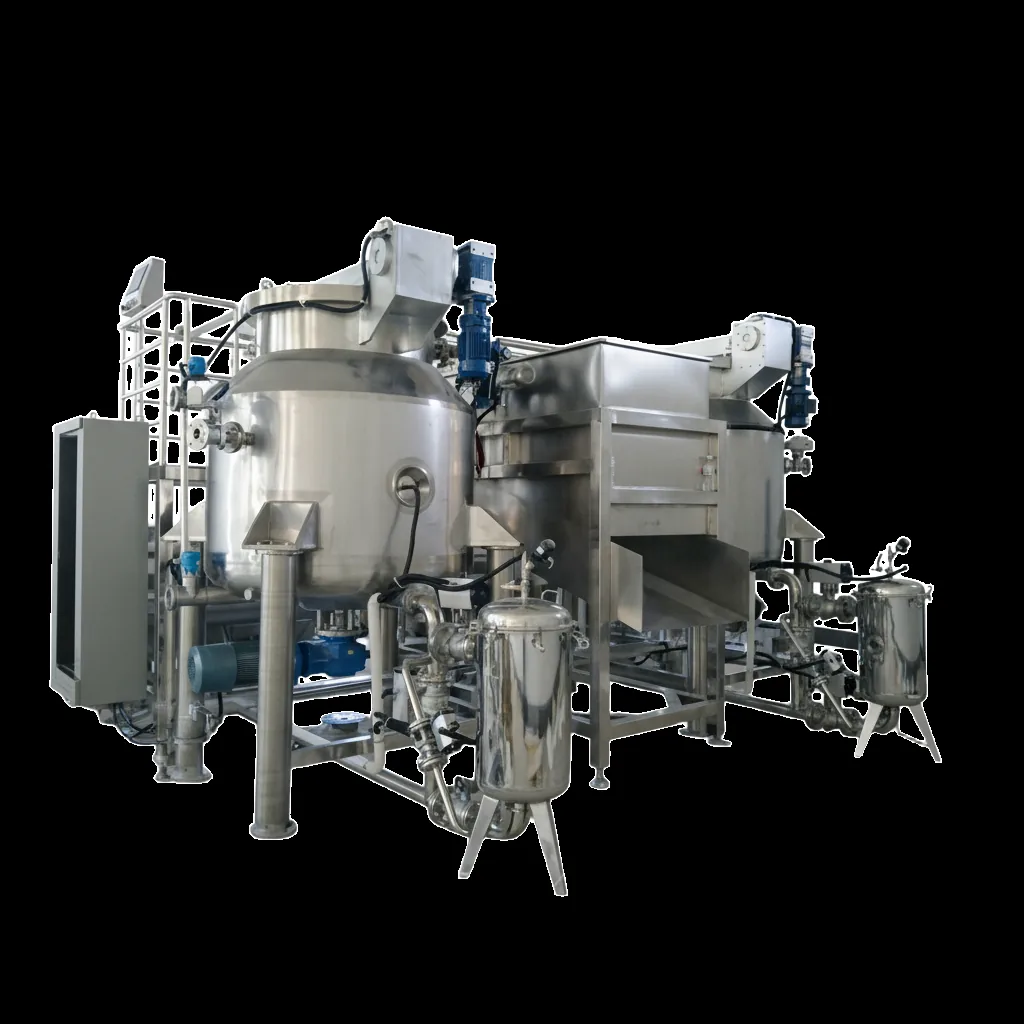
Knowing the right temperature is only half the job; holding it there through every batch is the other half. On modern batch vacuum fryers, a Delta PLC with an MCGS touchscreen runs the whole cycle — heating profile, vacuum sequence, frying time, and de-oiling — from setpoints the operator stores per recipe.
- Store setpoints per recipe. Once a product's temperature is validated, it lives on the touchscreen as a named recipe. Operators call it up instead of dialing in temperatures from memory.
- Calibrate the sensor, not your guesses. The controller is only as honest as its temperature probe. Verify probes against a calibrated reference on a maintenance rhythm.
- Watch the trend, not the instant. A good batch shows a stable trace: ramp up, hold, done. Oscillations or creeping drift on the readout are early warnings — of a tired heater, a faulty probe, or a vacuum leak — worth investigating before they become a failed batch.
When every batch of banana chips runs at the same stored temperature for the same time under the same vacuum, quality stops depending on who is on shift.
How temperature interacts with vacuum level and moisture
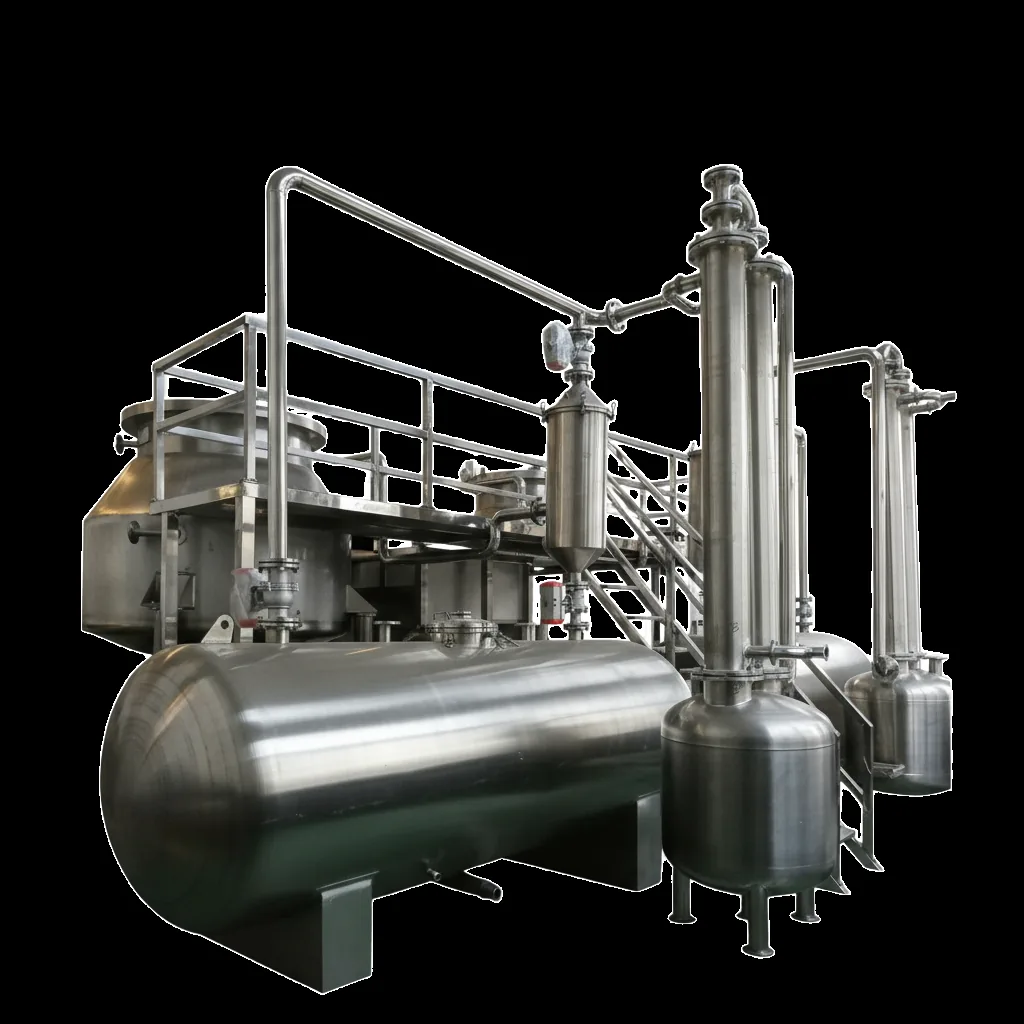
Temperature never acts alone in a vacuum fryer. Two partners — vacuum level and product moisture — decide what a given setpoint actually does.
Vacuum level sets the stage
The 80–100 °C window assumes a proper working vacuum. A weaker vacuum raises the effective boiling point, so the same setpoint behaves hotter than intended — even though the gauge still reads the same number. The practical order of operations:
- Establish vacuum first. Verify the vessel reaches its target vacuum before heating begins, every batch.
- Then tune temperature within that vacuum. Never chase product quality with temperature while vacuum is drifting — you are adjusting the wrong variable.
- Log both per batch. A batch log that records vacuum achieved and temperature held gives you a two-variable trend line. When a batch goes wrong, that record tells you which variable moved.
Product moisture sets the load
Moisture is what the temperature has to move. Fresh, high-moisture products need more total heat energy per kilo than drier products — usually a longer cycle at the same setpoint, not a hotter one. Practical implications:
- Batch loading matters. Overloading the basket with wet product drags the effective temperature down: the heaters cannot keep up with the moisture surge. Respect the batch-size rating — the QS-VF100's 100 KG, the QS-VF150's 150 KG, the QS-300's 300 KG — and load within it.
- Mixed moisture, mixed results. A batch that mixes high- and low-moisture pieces at one setpoint gives two different outcomes in one basket. Sort and standardize the input, or split the batch.
Temperature and oil quality: a linked discipline
Temperature control and oil management are the same discipline wearing two hats. Heat degrades oil; degraded oil degrades product. The link runs both ways:
- Every unnecessary degree ages the oil faster. Running 10 °C hotter than the recipe needs does not buy better product — it buys earlier oil darkening, more frequent top-ups, and sooner full replacement.
- Spent oil masquerades as a temperature problem. When degraded oil darkens the product, the temptation is to lower the temperature to fix the color. But the oil is the cause: fix the oil, keep the validated setpoint.
- Stable temperature makes oil trends readable. Oil-condition signals — color darkening, smell, foaming — are only meaningful against a stable process. If temperature wanders batch to batch, you cannot tell whether the oil or the heat caused a change.
Treat temperature and oil as one system: validated temperature per recipe, filtered oil every batch, and a log that records both. For the full oil routine — filtration, the five degradation signals, top-up discipline, and storage — read our companion guide: Vacuum Frying Oil Management Guide.
Quick reference: QS batch vacuum fryer classes
| Model | Batch size | Notes |
|---|---|---|
| QS-VF100 | 100 KG/batch | Entry class: market testing, small lines |
| QS-VF150 | 150 KG/batch | Mid-volume production |
| QS-300 | 300 KG/batch | High-volume; vessel 2600 mm (H) × 1600 mm (D) |
Batch vacuum frying at 80–100 °C with centrifuge de-oiling under vacuum; Delta PLC + MCGS controls. Specifications are for reference only and are subject to the final supplied equipment.
Frequently asked questions
Why does frying under vacuum work at such a low temperature?
Boiling is a pressure-dependent process: water boils when its vapor pressure overcomes the surrounding air pressure. Under vacuum, that point arrives at a much lower temperature, so moisture escapes from the product and frying proceeds at 80–100 °C instead of the ~170 °C of conventional deep frying — without sacrificing moisture removal.
What happens if the frying temperature runs too hot?
Excess heat pushes surface browning faster than the inside cooks, so color darkens, delicate flavors shift toward burnt notes, and the oil itself breaks down sooner. If your product consistently exits darker than the reference batch while everything else is unchanged, lower the setpoint slightly and re-check.
What happens if the frying temperature runs too cold?
Running too cool starves the process of driving energy: cycles stretch out, the product stays in oil longer than intended, texture goes soft instead of crisp, and excess surface oil remains for the centrifuge to remove. Cold-running a batch is not gentler — it is slower, and slow frying degrades quality in its own way.
How tight should the temperature setpoint be?
Keep one setpoint per product and recipe and treat it as fixed: the same product should always run at the same temperature, batch after batch. That discipline — same setpoint, same timing, same load — is what makes vacuum frying a repeatable industrial process rather than a daily experiment.
Does vacuum level matter as much as temperature?
Yes — temperature and vacuum are one system. A shallower vacuum raises the effective boiling point, so the same setpoint behaves hotter than intended; a deeper vacuum with the same setpoint behaves cooler. Always establish the vacuum level first, then tune temperature within that vacuum, and log both per batch.
Dial in the right temperature for your product
Tell us your product and target output — we'll help you pick the right capacity class and set a validated temperature profile for your line. Explore the range on our vacuum fryer page.
Specifications are for reference only and are subject to the final supplied equipment.