Why meat suits vacuum frying
Meat snacks live or die on a crisp, even bite and a clean, savory flavor. Both are hard to achieve with open frying, because meat proteins scorch easily and fat can turn bitter after too long at high heat. Vacuum frying changes the conditions rather than the product: under vacuum, water boils off at a much lower temperature, so the fryer can run at 80–100 °C — cool enough to protect flavor and color, yet hot enough to drive moisture out and build crunch.
Three meat products show the advantage most clearly:
- Chicken skin crisps. Skin is mostly fat and collagen, and it puffs and crisps beautifully as moisture leaves. At open-frying temperatures it browns unevenly and can taste burnt at the edges; under vacuum it renders evenly and stays golden.
- Beef crisps. Thin beef strips need an even, controlled dry-out to become crisp rather than tough. The gentle vacuum environment removes water steadily, so strips dry through instead of case-hardening outside while staying soft inside.
- Pork crackling. Pork skin and fat need time for fat to render and skin to blister. Lower-temperature vacuum frying gives that time without scorching, producing the airy, shattering texture of good crackling.
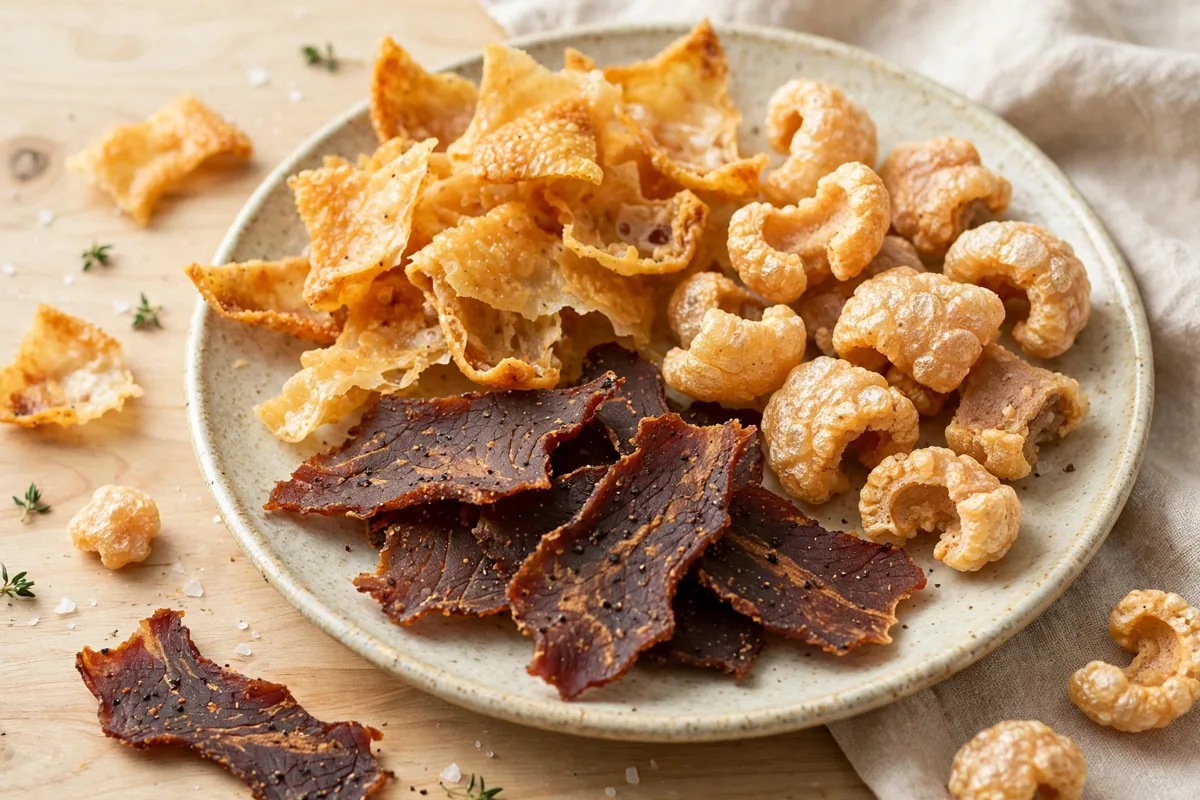
The oxygen-poor chamber adds a second benefit: with little oxygen present, the frying oil oxidizes more slowly, protecting the clean flavor of the finished snack. The result is a snack that tastes like the meat it came from, with a consistent crunch from batch to batch.
How fat renders under vacuum
Rendering is the heart of vacuum-fried meat snacks. In an open fryer, fat melts quickly at high heat and the meat surface can seal before interior fat has fully rendered, leaving greasy pockets. Under vacuum, lower temperature lets fat melt gradually while moisture escapes at the same time, so fat leaves the structure evenly instead of pooling in it.
This matters for texture. A chicken skin crisp is skin whose fat has rendered out and whose collagen has set into a light, brittle matrix. If fat does not render fully, the piece feels heavy and greasy; if temperature is too high, proteins scorch before fat finishes rendering. The 80–100 °C window sits in the useful middle: warm enough for fat to melt and flow, cool enough for proteins to stay unburned.
The same logic applies to beef and pork: beef strips carry intramuscular fat that must render for a clean bite, and pork crackling depends on its fat layer rendering away so the skin can blister. Slice thickness, raw-material fat content and batch loading all change how completely fat renders, so confirm each recipe with pilot batches using your own material.
Raw-material handling and hygiene
Meat demands stricter handling discipline than fruit or vegetables, starting long before the fryer. Keep raw meat cold from receiving through slicing — a broken cold chain is the most common upstream failure in a meat snack line, and no frying step can undo it. Move material into the fryer promptly rather than letting prepared batches wait at room temperature.
- Separate everything. Use separate tools, boards, containers and routes for raw meat and finished snacks. Chicken, beef and pork should never share a handling route, and staff should not move from raw handling to packing without changing gloves and washing hands.
- Keep the cold chain unbroken. Raw meat stays refrigerated until preparation, prepared slices go into the fryer without delay, and any batch that has warmed beyond your process limit should be treated as suspect, not pushed through.
- Follow local food-safety rules. Regulations for meat processing differ by market, and they govern receiving, storage, handling and labeling. Build your line's procedures around the rules of the markets you sell into, and review them whenever you add a new product or destination.
Good hygiene is a process discipline, not a machine feature: the fryer cannot correct contamination that happened upstream. Written procedures, trained staff and a clear separation between raw and finished zones deliver more consistent quality and fewer rejected batches.
Preparation: slicing and marinating
Preparation comes down to two choices: how the meat is cut, and whether it is seasoned before frying.
Slicing for even frying
Even slices fry evenly; uneven slices do not. A batch mixing thick and thin pieces comes out with some pieces over-dried and others still soft, because thick pieces need more time for moisture to escape. Sort out off-size pieces before loading. Trim pieces to lie flat in the basket so oil reaches both sides.
Marinating as an option
Marinating is optional — plain salted meat snacks are a complete product on their own. Where a marinade fits, it adds flavor and can help the surface dry evenly. The trade-off is added moisture, so keep marinades light and drain fully before loading. Heavy, sugary marinades are a poor fit — test any sweet marinade on a pilot batch first.
Frying and in-vacuum centrifugal de-oiling
Frying follows the same logic as other vacuum-fried products, with one meat-specific difference: rendered fat joins the frying oil, so oil management matters more here than for fruit or vegetable lines. Watch oil condition across the run, filter on schedule, and see the companion oil-management guide for the full routine.
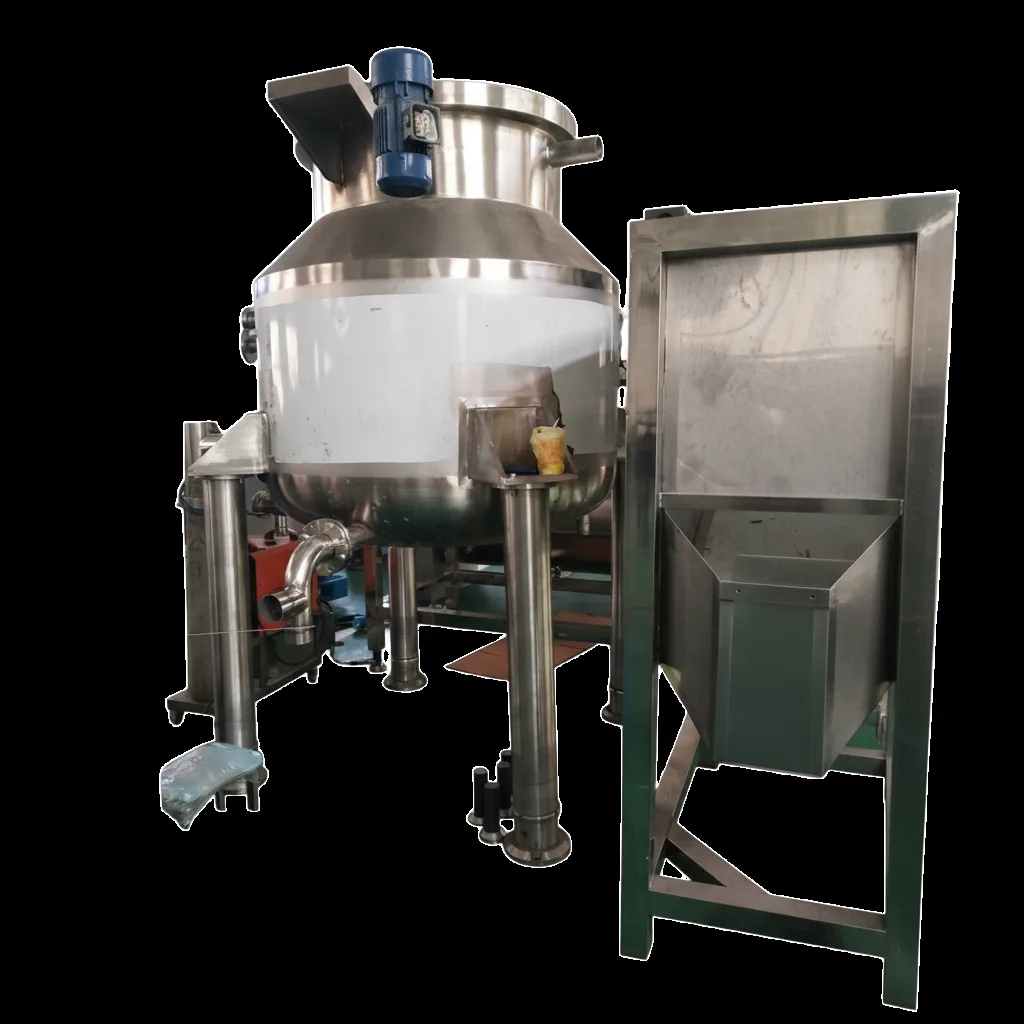
When frying ends, the most important step begins: in-vacuum centrifugal de-oiling. The basket spins while the chamber is still under vacuum, throwing surface oil off before air re-enters. This order matters: if de-oiling happened after vacuum release, air pressure would push surface oil back into the pores as the crisp cooled. Spinning under vacuum lets oil leave cleanly, and the crisp comes out light rather than oily.
Vacuum-fried snacks made on this type of line can reach oil content below 18%. Treat that as a realistic outcome for a well-run line, not a guaranteed result for every recipe: raw-material fat, slice thickness and seasoning all shift the final number, so confirm it with pilot batches. De-oiling is not an optional extra — it is the step that makes the snack eat light rather than greasy.
Seasoning and packing
Seasoning is a balancing act: flavor must stand up to the richness of the meat, but seasoning must not add moisture back into a crisp the fryer just dried. Apply dry seasonings after de-oiling, while pieces are still slightly warm, so they adhere evenly without clumping. Tumble gently — meat crisps are brittle.
- Match seasoning to the meat. Chicken skin takes bright, spicy and smoky profiles well; beef suits peppery, savory and barbecue-style blends; pork crackling pairs with salt-forward and chili seasonings. Test each blend on a pilot batch — one meat's ideal seasoning can taste flat or overpowering on another.
- Keep seasoning dry. Liquid flavorings and wet sauces undo the crispness the fryer created. If a liquid flavor is essential to the product, apply it before frying as part of the marinade, not after, and confirm the finished texture on a pilot batch.
- Pack promptly. Fried meat crisps pick up moisture from the air, softening the bite. Move finished batches into moisture-barrier packaging without delay, seal reliably, and store away from heat and light.
Packing also sets product identity: clear labeling of meat type, flavor and ingredients helps buyers choose, and consistent pack weight and appearance build repeat orders.
Choosing equipment size
A vacuum fryer with a programmable recipe and in-vacuum centrifugal de-oiling is the right tool for meat snacks; the QS-VF series covers the range most producers need:
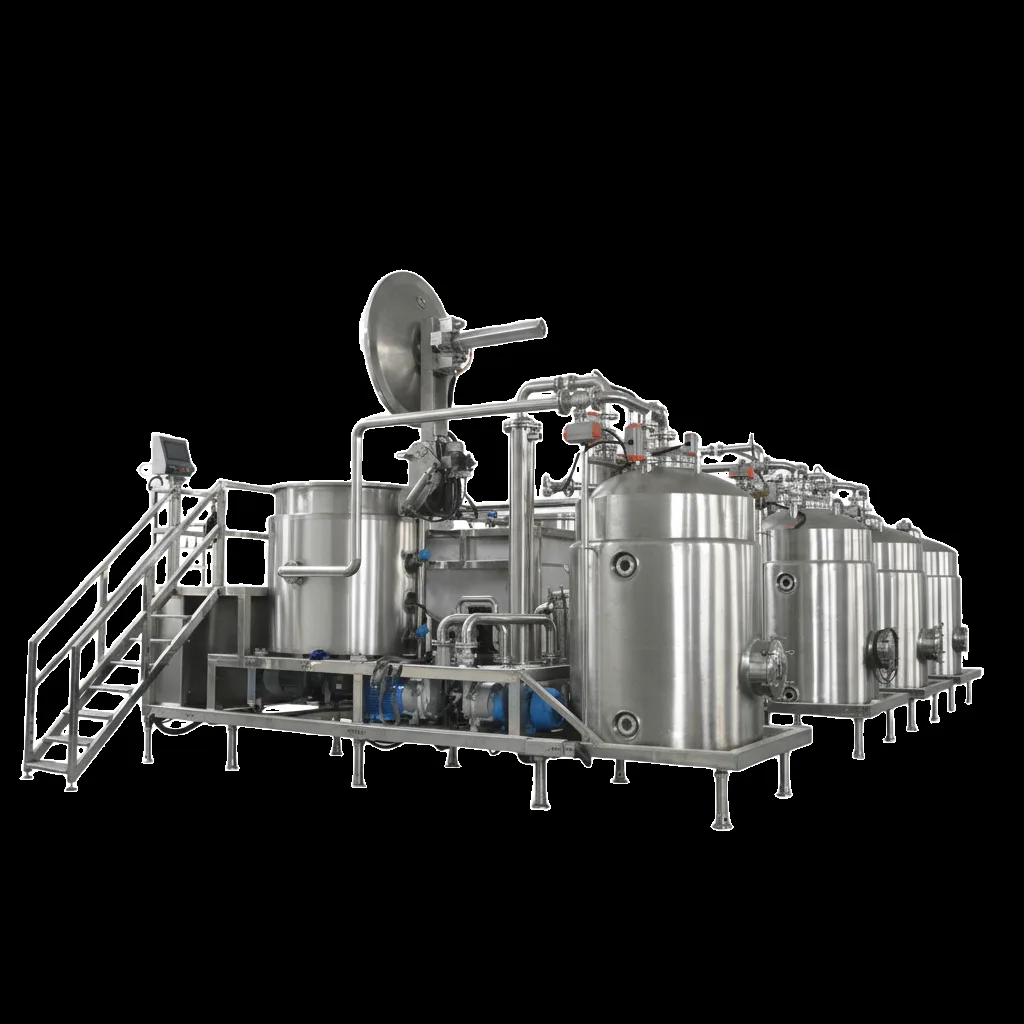
QS-VF series — vacuum fryers
- QS-VF100 (100 kg per batch) — startups and pilot production.
- QS-VF150 (150 kg per batch) — established producers.
- QS-300 (300 kg per batch) — high-volume operations.
All three share one platform — Delta PLC plus MCGS touchscreen control, in-vacuum centrifugal de-oiling, and frying at 80–100 °C — so a recipe developed on the smallest machine transfers to the larger ones as volume grows. Standard terms: 1-year warranty, approximately 3-month lead time.
Specifications are for reference only and are subject to the final supplied equipment.
Frequently asked questions
Why is vacuum frying better than open frying for meat snacks?
Because vacuum frying runs at 80–100 °C, well below the temperatures of open frying. Meat proteins scorch and bitter notes develop quickly at high heat, so the lower temperature protects flavor and color while still driving out moisture for a crisp bite. The oxygen-poor chamber also slows oil oxidation during the batch, which helps keep the oil in better condition across a production run.
How should raw meat be handled before vacuum frying?
Keep raw meat cold from receiving through slicing, use separate tools and surfaces for raw meat and for finished snacks, and follow your local food-safety rules at every step. Chicken, beef and pork should never share a handling route, and staff should not move from raw handling to packing without changing gloves and washing hands. Good hygiene is a process discipline, not a machine feature — the fryer cannot correct contamination that happened upstream.
Does vacuum-fried meat stay low in oil?
In-vacuum centrifugal de-oiling is the key step: oil is spun off while the product is still under vacuum, before air can push surface oil back into the pores. Vacuum-fried snacks made on this type of line can reach oil content below 18%. The result depends on your raw material, slice thickness and seasoning, so confirm it with your own pilot batches rather than treating it as a guaranteed figure for every recipe.
Which fryer size fits a meat snack line?
It depends on target output and growth plans. A QS-VF100 (100 kg per batch) suits startups and pilot production; a QS-VF150 (150 kg per batch) fits established producers; a QS-300 (300 kg per batch) serves high-volume operations. All three run the same Delta PLC plus MCGS touchscreen control platform, so recipes developed on the smallest unit transfer to the larger ones as volume grows.
Plan your meat snack line
Tell us your target output and which meats you process — we'll help you size the vacuum fryer and plan the line from receiving to packing. Explore the range on our vacuum fryer page.
Specifications are for reference only and are subject to the final supplied equipment.