What decides crispness
Crispness in a vacuum fried snack is the result of a chain, and every link matters. The raw material brings its own moisture and structure. Slicing sets how evenly heat and oil reach each piece. Pretreatment changes the surface and how the piece fries. The oil temperature decides how moisture leaves the piece. De-oiling decides how much oil stays behind. Cooling and packaging decide whether the crispness survives until the bag is opened. Treat each step as a control point, and keep a batch record.
Slice thickness and uniformity
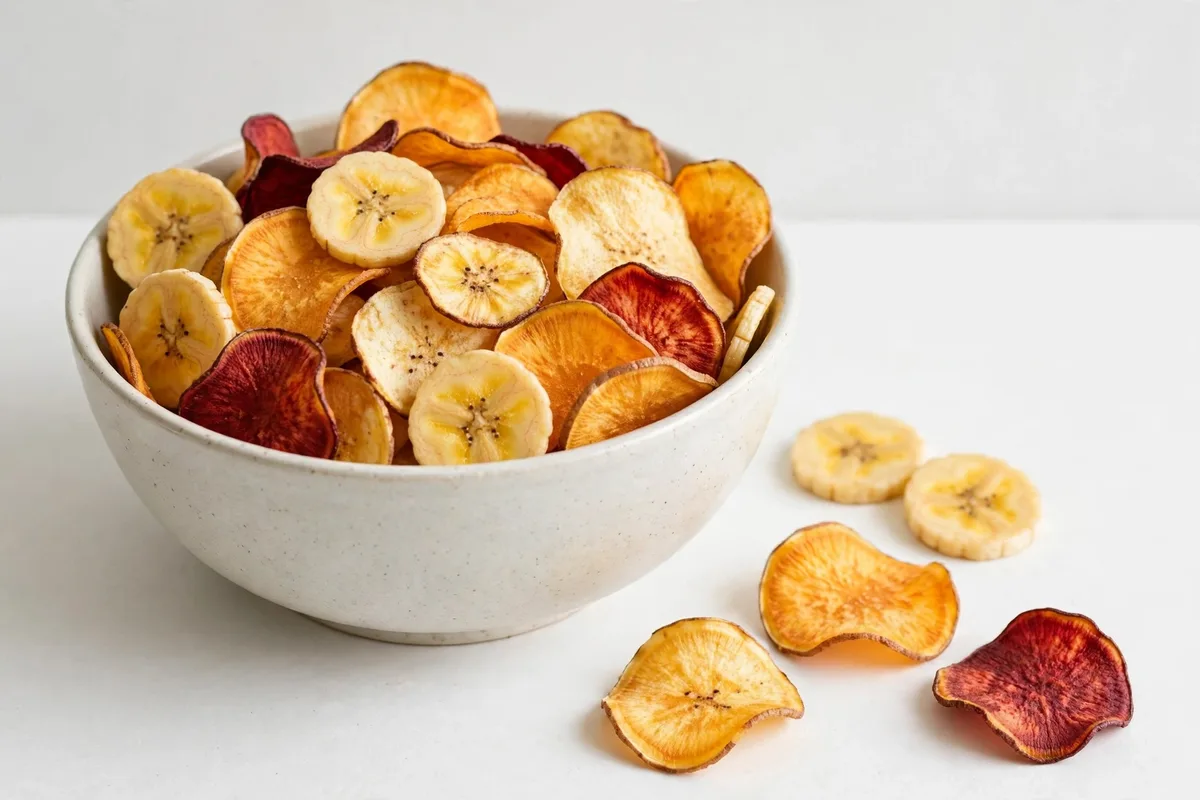
Slicing is the first crispness decision, and it is also the one most often underestimated. Thickness sets how fast moisture can escape: a thin slice dries through quickly and turns crisp, while a thick slice still holds moisture at its centre when the surface is already done. When thickness varies within one batch, thin pieces over-fry and thick pieces stay soft, so the batch comes out mixed no matter how well the fryer is run. Check thickness at the start of each batch, keep blades sharp on a schedule, and reject pieces outside the target range. Confirm the target thickness by trial production; holding it steady is what makes the fryer predictable.
Raw-material moisture and pretreatment
Raw material is never identical from one delivery to the next. Fresh fruit and vegetables vary in moisture with the season, the growing region, and the time since harvest, and that changes how a batch fries: wetter material needs more moisture driven off before it can turn crisp. Control starts at intake — sort by ripeness and quality, keep similar lots together rather than mixing material of visibly different moisture, and note the supplier and lot in the batch record. Apply pretreatment the same way every time, drain slices properly, and keep the time between slicing and loading consistent.
Blanching: when it helps and when to skip it
Blanching — a short hot-water or steam treatment before frying — is one of the most useful pretreatments in vacuum frying, but only for the right products. For potato chips and fries, blanching is standard practice: it firms the texture, helps set the colour, and evens out how the pieces fry. For root vegetables, blanching is strongly recommended, because their dense structure benefits from the same evening-out effect. Delicate fruits are a different case: strawberry and mango are usually not blanched, because their soft structure is easily damaged by hot water, and blanching can soften the flesh and spoil the very crispness you are trying to protect.
Oil temperature: holding 80–100°C steady
Vacuum frying happens at 80–100°C. That low-temperature window is the heart of the process: under vacuum, food fries far below open-frying temperatures, which protects colour, flavour, and heat-sensitive compounds while the snack turns crisp. But the number on the display is only half the story — what matters is how steadily the oil holds that temperature across the whole vessel, for the whole batch. When a cold batch is loaded, the oil temperature dips, and how far it dips and how fast it recovers decides whether the pieces fry evenly. On QS fryers, a Delta PLC with an MCGS touchscreen shows the oil temperature, set points, and alarms, so the operator can see a drift as it happens.
What the vacuum environment does
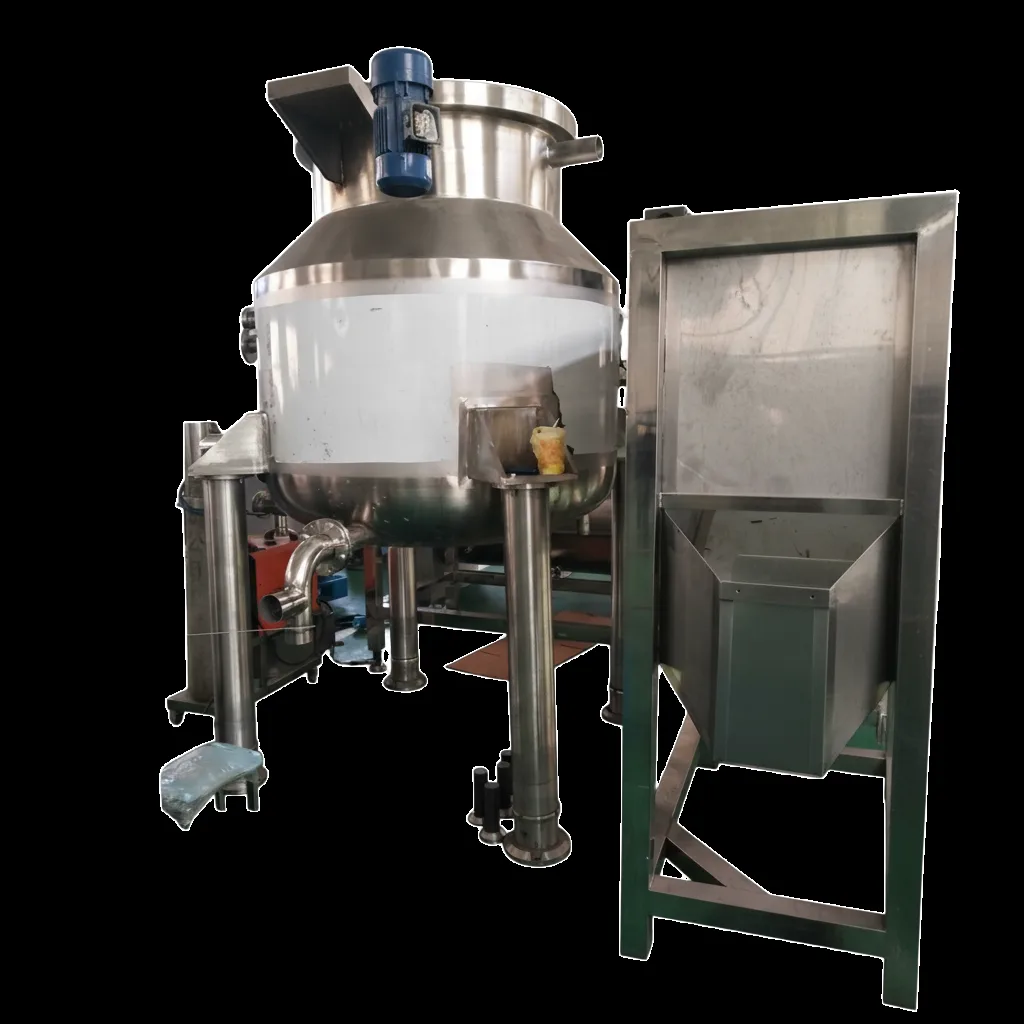
The vacuum is what makes low-temperature frying possible at all. Under reduced pressure, water inside the food leaves more readily, so the snack dries and crisps at 80–100°C instead of needing the high temperatures of open frying. The vacuum must be established and held properly for the whole frying stage: a leaking vessel, a worn seal, or a pump that is not pulling as it should will change how moisture leaves the product, and the texture will show it. Check seals and gaskets on a routine schedule, and record any vacuum fault alongside the batch it affected. Load within your machine's batch size — QS-VF100 100KG/batch, QS-VF150 150KG/batch, QS-300 300KG/batch — and spread the product evenly.
Frying time: validate by trial production
There is no universal frying time for vacuum fried snacks, and any guide that prints one as a fixed number should be treated with suspicion. Frying time depends on the product, the slice thickness, the raw-material moisture, the load size, and the oil temperature behaviour of your own machine. Validate frying time by trial production with your own product, on your own machine: run small test batches, change one variable at a time, and judge the result by the finished snack. When a trial gives the texture you want, record the full set of conditions that produced it, so the result can be repeated. That record, not a number copied from a guide, is your frying time.
In-vessel centrifugal de-oiling
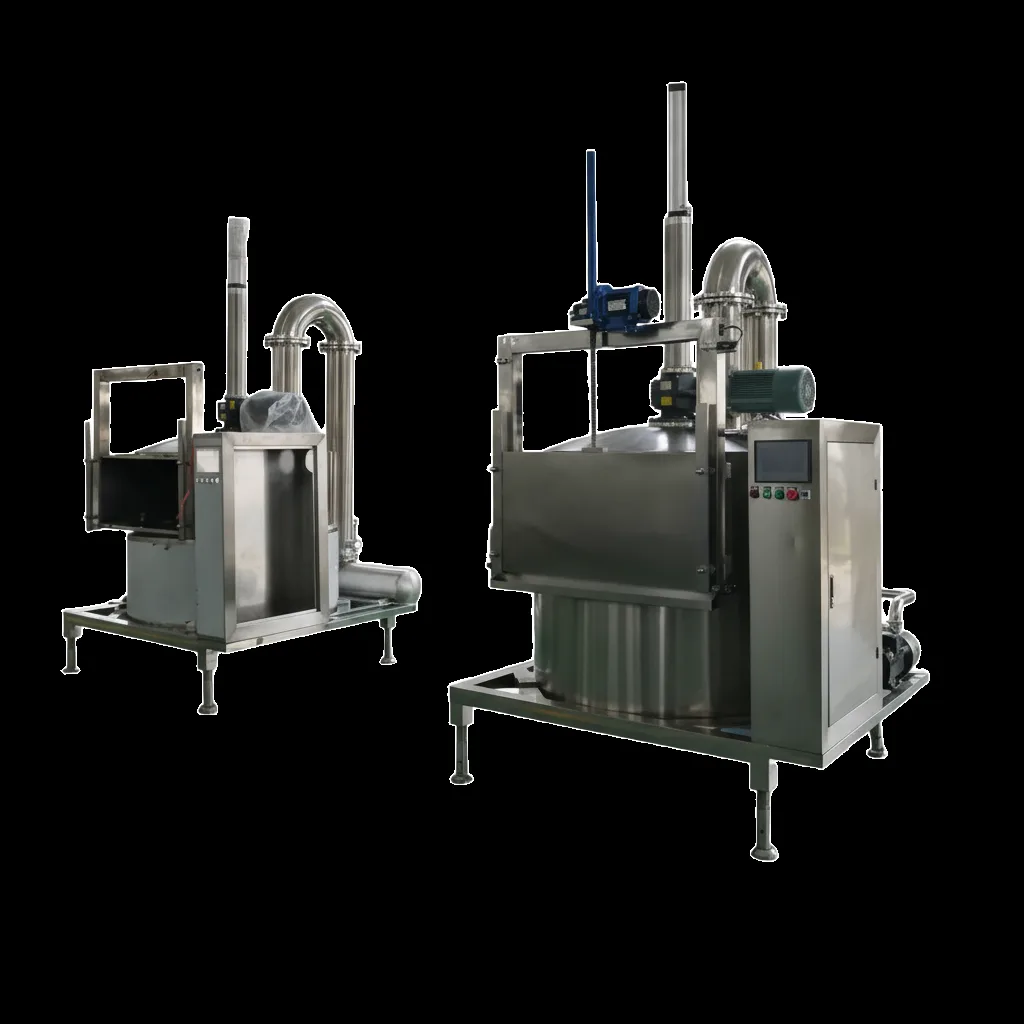
De-oiling is where crispness is either locked in or lost. When frying ends, the pieces carry oil on their surfaces; if that oil stays, it soaks back in as the pieces cool, leaving a greasy, soft snack. In-vessel centrifugal de-oiling spins the basket inside the vessel, throwing surface oil off the pieces before they are exposed to air, while the vacuum environment is still in place. A vacuum fried snack made this way finishes with an oil content below 18%, which is part of what sets it apart from open-fried snacks. The pieces must have room to shed oil rather than sitting pressed together in a dense mass, so the same load discipline applies here as in frying. Visibly oily pieces are a sign to check the load, the spread in the basket, and basket cleanliness.
Cooling and packaging
A snack can leave the fryer perfectly crisp and still go soft before it reaches the bag. Cooling is the vulnerable moment: hot pieces exposed to humid air pick up moisture on their surfaces, and warm pieces sealed too early trap moisture inside the pack. Cool the product in a clean, dry place with air moving over it, give it enough time to reach a stable temperature, and keep the cooling area away from steam and washing stations. Handle pieces gently while warm, package promptly with the pack your product is specified for, and check seals as part of the batch routine. If a batch goes soft in storage while others stay crisp, check cooling and packaging before blaming the fryer.
Batch quality checks
Repeatable crispness needs a repeatable check. The simplest reliable method is a sensory check applied the same way to every batch: take pieces from different parts of the batch — top, middle, and bottom of the basket — break them, feel for the snap, taste them, and look at the colour. Compare what you find against the standard your good batches set, and write the result down. The record is what turns a check into control: note the slice thickness, the raw-material lot, the oil temperature behaviour, the de-oiling result, and the cooling conditions next to the sensory result. Over time, records show patterns — which lots fry best and where texture starts to suffer. Keep the check quick enough to do on every batch, not just on problem days.
Troubleshooting soft or uneven batches
When a batch comes out soft or uneven, work through the chain in order instead of changing several things at once. Start with slicing: measure the pieces and check for a spread of thicknesses. Then check the raw material: a new lot, a different ripeness, or visibly wetter material explains many sudden changes. Next, look at the oil temperature record: did it hold steady at 80–100°C, or did it dip and recover slowly? Then check de-oiling — oily surfaces point at the spin step or an overloaded basket — and finally cooling and packaging, where moisture picked up after frying softens an otherwise good batch. Patterns point to the link: thin crisp and thick soft means slicing; one lot good and the next bad means moisture; a pale, soft batch means oil temperature or frying time; crisp from the fryer but soft next day means cooling or packaging. Fix the cause, run a check batch, and record both.
Frequently asked questions
What makes a vacuum fried snack crisp?
Crispness comes from the whole chain, not one setting. Uniform slices, controlled raw-material moisture, a stable oil temperature of 80–100°C, thorough in-vessel centrifugal de-oiling, and careful cooling and packaging all play a part. If any link is weak — uneven slices, drifting oil temperature, or oil left on the surface — the batch will show it, so control each step and keep batch records.
Should I blanch before vacuum frying?
It depends on the product. Blanching is standard practice for potato chips and fries, and it is strongly recommended for root vegetables. Delicate fruits such as strawberry and mango are usually not blanched, because their structure is easily damaged. Treat blanching as a per-product decision: confirm the right approach for your own product by trial production, and record what works.
Why do some batches come out soft or uneven?
Work through the chain in order. Uneven slicing makes thin pieces over-fry while thick pieces stay soft. Variable raw-material moisture changes how each batch behaves. Oil temperature that drifts away from the set point, incomplete de-oiling, or cooling and packaging that let moisture back in can each soften the result. Check slice uniformity, moisture, oil temperature stability, de-oiling, and cooling in turn, and compare your notes with the batches that came out right.
How do I check crispness quality batch after batch?
Use the same sensory check on every batch and write the result down. Break and taste pieces from different parts of the batch, look for even colour, and note any soft or oily pieces. Record the slice thickness, raw-material batch, oil temperature behaviour, de-oiling result, and cooling conditions alongside the sensory result. Over time, those records show which step to adjust when a batch drifts.
Plan your vacuum frying line
Tell us your snacks and target output — we will help you size the fryer.
Specifications are for reference only and are subject to the final supplied equipment.