Why between-batch cleaning matters
A batch vacuum fryer runs at 80–100°C under vacuum, giving crisp snacks with oil content below 18%, but the vessel still collects residue with every batch. Crumbs break off the product, loose coating settles, and fine particles drift into the oil. Left in place, that residue does three kinds of damage at once. It carries flavour: seasoning dust and aromas from one product end up in the next, so a plain batch can taste of the previous blend. It shortens oil life: burnt crumbs and debris degrade oil quality faster, showing up as darker colour, off flavours and less consistent crispness. And it creates hygiene risks: damp residue in corners, joints and around seals is where unwanted build-up grows between shifts.
Cleaning between batches is therefore a quality control step, not housekeeping for its own sake. A fryer cleaned on a fixed routine produces more consistent batches, keeps oil serviceable longer, and gives the next operator a known starting point. The time it costs is repaid in fewer rejected batches.
Before you start: cool-down and preparation
Never start cleaning a hot fryer. Allow the vessel and oil to cool first, and follow the sequence in the supplied equipment manual for your model — the steps below are general good practice, not a substitute for that manual. While the fryer cools, prepare cleaning tools, food-grade agents approved for food contact, and a place to set removed parts.
Preparation also means deciding what kind of changeover this is: a same-product changeover needs a basic clean, a flavour change a deeper one. Agree the level first, then clean to that level every time — a flavour change treated as a quick rinse is how carryover happens.
Batch vacuum fryer range, for reference
| Model | Capacity |
|---|---|
| QS-VF100 | 100KG/batch |
| QS-VF150 | 150KG/batch |
| QS-300 | 300KG/batch |
Fryer controls use a Delta PLC with an MCGS touchscreen. Always follow the manual supplied with your own equipment.
The cleaning sequence, step by step
Work in this order; each step prepares the next.
- Cool down and make safe. Allow the fryer to cool first, then follow the manual's shutdown sequence. Confirm the vessel is safe to open before touching any internal part.
- Remove the finished product and loose residue. Take out the basket and removable parts, and clear loose crumbs from the vessel. Removing residue dry, before washing, keeps it out of drains and makes washing faster.
- Handle the oil. Deal with the frying oil before washing the vessel: filter it or transfer it as your routine requires, and check it for debris and wear.
- Wash the vessel, basket and parts. Wash every product-contact surface with food-grade agents approved for food contact, working from the top downwards so dirty wash water does not run over cleaned surfaces. Pay particular attention to corners, joints, the basket mesh and the seals area, where residue hides.
- Rinse. Rinse all washed surfaces so no cleaning agent remains; agent residue is itself a contaminant for the next batch.
- Dry. Dry every cleaned surface and part before reassembly. Drying is a full step in its own right, not an afterthought.
- Inspect. Look over the vessel, basket, seals area and all reassembled parts for remaining residue, wear and damage before the fryer goes back into service.
- Restart checks. Reassemble in order, confirm the vessel closes and seals as the manual describes, and run the pre-start checks on the controls before loading the next batch.
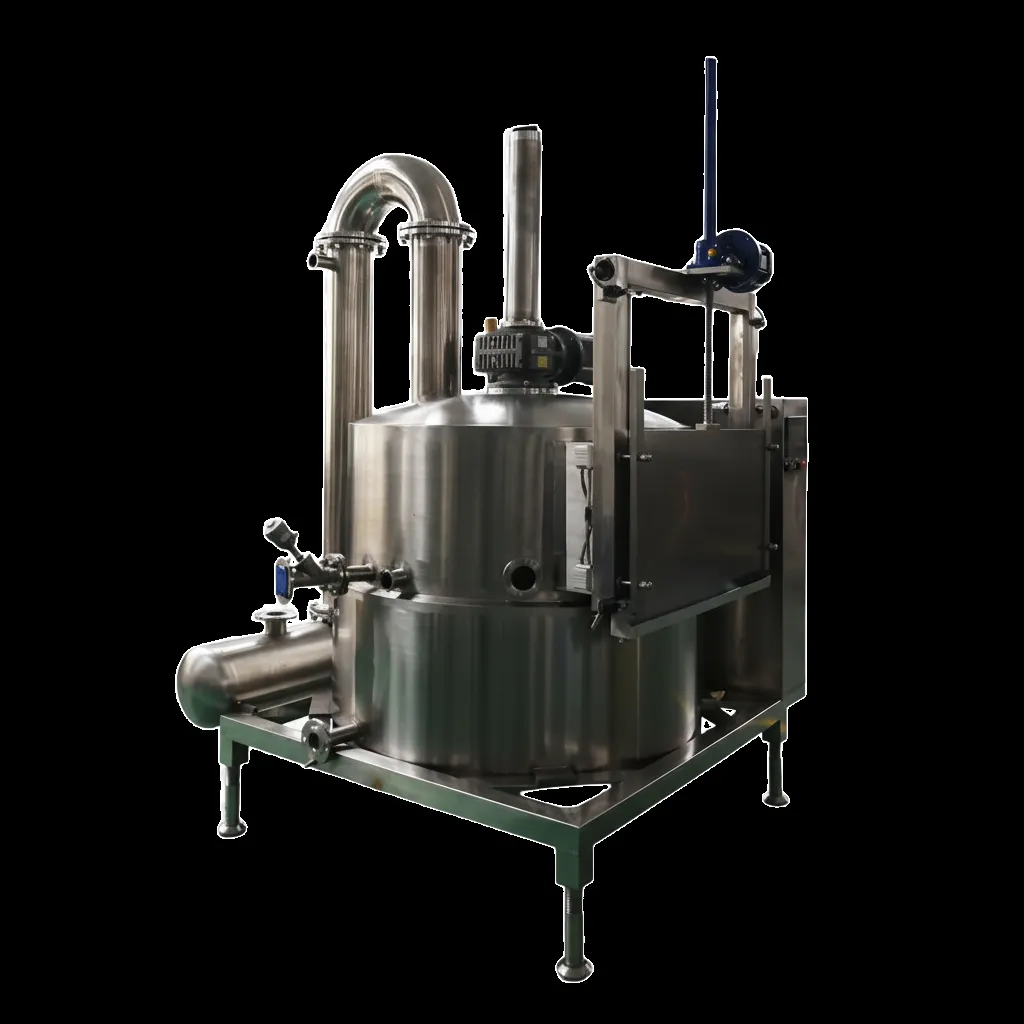
Flavour change versus same-product changeover
The difference between the two changeovers is depth, not method. A same-product changeover removes crumbs, loose coating and oil residue so the next batch starts clean and the oil stays serviceable. The vessel, basket and removable parts are washed, rinsed and dried, and the oil is filtered as usual. That routine is enough when nothing new is introduced: trace residue of the same product is a quality issue, not a flavour surprise.
A flavour changeover goes further. Seasoning dust, spice residue and strong aromas cling to the basket mesh, vessel walls, corners, joints and the seals area, and they do not rinse away with a quick pass. Every product-contact surface needs washing, the seals area needs particular attention, and rinsing and drying must be thorough rather than hurried. Check deliberately before loading the new product: look, and where appropriate smell, for traces of the previous flavour. If any trace remains, repeat the wash rather than hoping the next batch will mask it — it will not.
Cleaning the oil circuit and filters
The vessel is only half the cleaning job. Oil carries fine particles through the whole circuit, so the oil path and filters need attention at every changeover, and deeper attention at flavour changes. Filter the oil as your routine requires, and clear the filters of trapped crumbs and debris rather than letting them accumulate across batches. A clogged filter does not just slow oil flow — it holds old residue in contact with the oil, degrading it faster and reintroducing debris to the next batch.
Inspect the filters themselves while you clean them. Look for damage, wear and build-up that filtering alone will not remove, and replace or service any filter that is no longer doing its job, following the supplied equipment manual. Check the filtered oil for visible debris, and record what you find: a sudden increase often points to an upstream issue, such as pieces breaking up during frying, worth knowing about before the next batch.
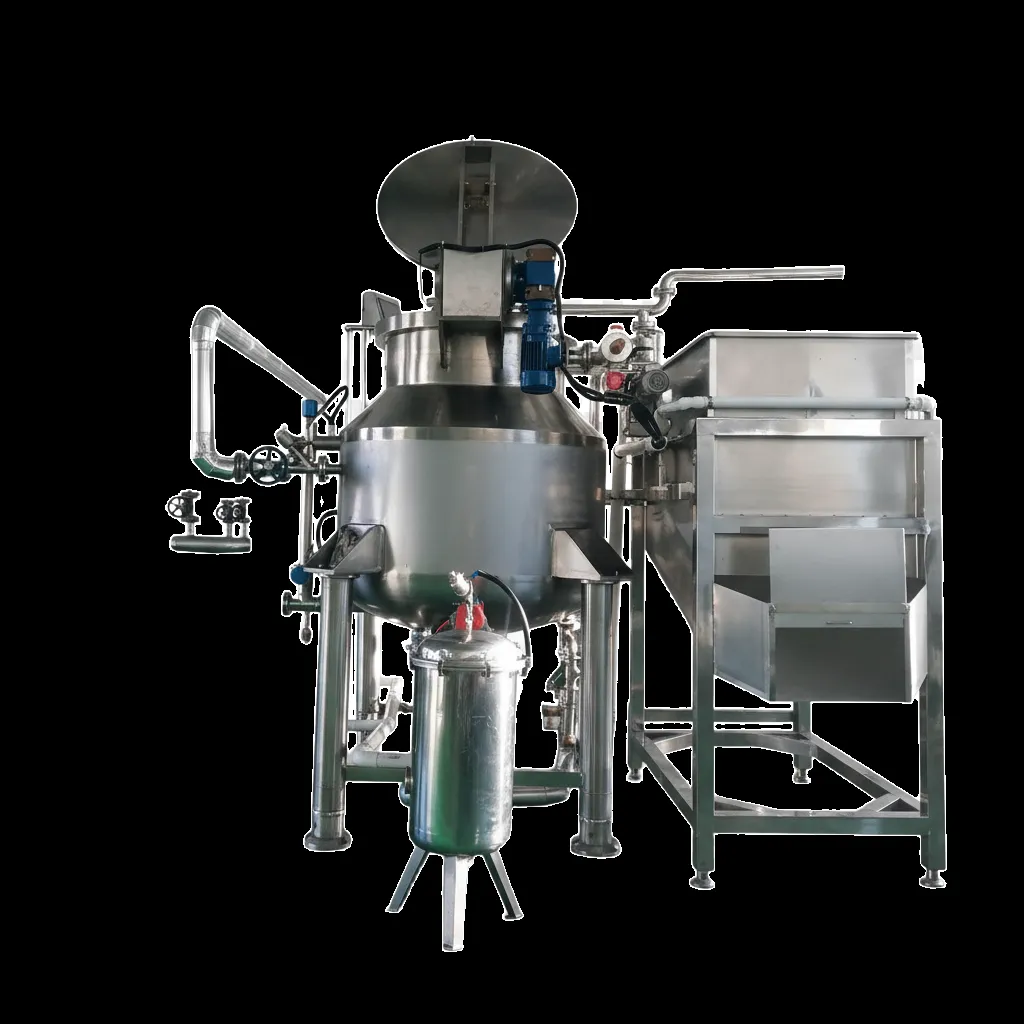
Keep the oil-handling area and filtering tools clean as well, so residue is not transferred back onto cleaned parts.
Drying, inspection and restart checks
Drying deserves emphasis because it is the step most often rushed. Water left in the vessel, basket mesh or around joints and seals mixes with oil at the next heat-up, affects frying quality, and leaves damp surfaces where hygiene risks grow. Dry every cleaned surface and part, including corners and joints that hold hidden moisture. Only reassemble once surfaces are dry; treat any damp spot found during inspection as a reason to dry again.
Inspection is the last quality gate before the fryer returns to service. Check vessel walls and corners, basket mesh, the seals area and every reassembled part for residue, wear or damage, and confirm nothing — cloths, tools, loose fittings — has been left inside. Then run the pre-start checks before loading product, so any issue is found with an empty vessel rather than a full batch.
Keeping a cleaning record
A short written record turns cleaning from a habit into a system. For each changeover, note the date, the products and flavours before and after, the changeover type, what was done to the oil and filters, and anything unusual found — damage, heavy residue, or a filter needing attention. A few lines per changeover are enough.
Records pay off three ways: reliable handovers, traceable problems, and an improvable routine — patterns such as one product always leaving heavy residue point to where preparation needs attention. Keep records where the operators who need them can find them.
Common mistakes
- Cleaning while hot. Skipping cool-down risks burns. Allow the fryer to cool first, every time.
- Skipping drying. A vessel that looks clean but is still damp causes frying and hygiene problems at the next batch. Dry thoroughly before reassembly.
- Neglecting the seals area. Residue collects around seals and in joints, and a quick wipe of the vessel walls misses it. Clean these areas deliberately.
- Forgetting the oil circuit and filters. A clean vessel with dirty oil and clogged filters is not a clean fryer. Filter and inspect at every changeover.
- Treating a flavour change as a basic clean. Seasoning and aroma carryover is the most common changeover failure, avoidable with a deeper clean and a check before loading.
- Cross-contamination through tools and hands. Dirty cloths, oil-coated tools and unwashed hands move residue onto clean surfaces. Keep cleaning tools clean and separate from production tools where possible.
- No record of the changeover. Without a record, the next operator cannot tell what was cleaned, and a carryover problem cannot be traced.
Between-batch cleaning is straightforward work, and that is its advantage: a fixed sequence in safe order, with drying and inspection treated as real steps, keeps batches consistent and flavours true. Build the routine into the changeover, record it briefly, and the fryer will repay the effort in steadier product and fewer rejected batches.
Frequently asked questions
Do I need to clean the fryer between batches of the same product?
Yes, at least a basic clean. Even the same product leaves crumbs, loose coating and oil residue behind, and that residue builds up batch after batch, degrading oil quality and leaving the next batch less crisp and less consistent. A same-product changeover can be shorter than a flavour changeover, but skipping cleaning entirely lets residue accumulate until it affects quality and hygiene.
What is different about cleaning for a flavour change?
A flavour changeover needs a deeper clean, because seasoning dust, spice residue and strong aromas cling to the basket, the vessel walls and the seals area, and the next flavour will pick them up. Clean every product-contact surface, pay attention to corners, joints and the seals area, rinse and dry thoroughly, and check the result before loading the new product. When in doubt, clean as if the flavours clash.
Can I clean the fryer while it is still hot?
No. Always allow the fryer to cool first and follow the supplied equipment manual for the safe sequence. Cleaning a hot vessel risks burns and makes cleaning agents behave unpredictably, and splashing liquid onto hot surfaces is dangerous. Cool-down is part of the routine, not wasted time: use it to prepare cleaning tools and handle the oil.
Why does drying matter so much after cleaning?
Because leftover moisture is the most common reason a freshly cleaned fryer causes problems. Water left in the vessel or basket mixes with the oil at the next heat-up, affects frying quality, and creates a damp environment where hygiene risks grow. Dry every cleaned surface and part before reassembly, and inspect for damp corners and joints before restarting.
Plan your vacuum frying line
Tell us your snacks and target output — we will help you size the fryer. Explore the range on our vacuum fryer page.
Specifications are for reference only and are subject to the final supplied equipment.