How to troubleshoot safely
A vacuum fryer works with hot oil under vacuum, so safe troubleshooting starts before you touch anything. If a batch is running, let the cycle finish or stop it the way the manual describes — never open the vessel door while the machine is under vacuum or the oil is hot. Wait until the machine has cooled and the pressure has returned to normal before inspecting anything.
Work through problems one step at a time. Note the symptom exactly as you see it, and change only one thing before the next test batch. Keep the equipment manual beside the machine and follow its troubleshooting section first. Anything inside the control cabinet, inside the vacuum pump, or on the electrical side is supplier work. Never improvise on vacuum or electrical parts.
Uneven colour or texture in a batch
Uneven colour is the most common complaint on a new vacuum frying line, and it is usually a preparation problem rather than a machine fault. Pieces that fry at different rates come out looking different. Before you suspect the fryer, look at what went into it.
Check the loading first. Product should be spread in a single, even layer in the basket, with space for the oil to move around every piece. Pieces piled on top of each other shield each other from the oil, so the top layer stays pale while the bottom layer darkens. If the basket is filled above the manual's level, reduce the load and run a test batch.
Check slice thickness next. A thick slice needs longer in the oil than a thin one, so a batch cut to mixed thicknesses can never come out even. Use the same slicer setting for the whole batch and sort out pieces that are clearly thicker or thinner than the rest. Finally, check the oil: dark, cloudy oil carrying fine crumbs transfers heat unevenly, so filter it between batches as the manual describes.
Product comes out too oily
A vacuum fried snack should feel dry to the touch. If the product comes out greasy, look at the de-oiling step first. After frying, the centrifuge spins the product inside the chamber to throw off surface oil — the step that helps a well-run process finish with an oil content below 18%. If that spin does not run or runs with an overloaded basket, surface oil stays on the product.
Check that the de-oiling cycle actually ran, and confirm on the control panel that it completed before the vessel was opened. If the basket was overloaded, the pieces at the centre do not get the full effect of the spin — reduce the load to the level in the manual and run a test batch. Also check that the basket is clean and nothing blocks the oil drain path, and check the oil: old, dark oil full of fine particles clings to the product instead of draining off, so follow the manual's guidance on filtration and oil changes.
Vacuum is slow to build or will not hold
The vacuum is what makes low-temperature frying possible: by lowering the pressure inside the vessel, the fryer can work at 80–100°C instead of open-frying temperatures. When the vacuum builds slowly or will not hold, the frying temperature rises and the product darkens. The cause is usually a leak, found by checking the seals and connections in order.
Start with the door seal. Open the door, look at the seal all the way around, and feel for hardening, flattening, cuts or crumbs trapped in the groove. Clean the seal and its groove, then close the door firmly. A damaged seal needs replacing — order it against your exact model, since seals differ between the QS-VF100, QS-VF150 and QS-300.
Next, check the drain valve and the visible pipe and hose connections. A drain valve left partly open after cleaning is a common cause, so confirm every valve is in its correct position. Look for oil weeping at joints and listen for air being drawn in. If everything looks right and the vacuum still will not build, stop: the vacuum pump and its internal parts are supplier work. Note what you already checked and send those notes to your supplier.
Temperature will not reach or hold its setting
When the oil will not reach its set temperature, or the temperature swings during a batch, the product fries unevenly. Check the simple causes first before assuming a part has failed.
Confirm the set temperature on the control panel is the one you intended — settings are sometimes changed by mistake between batches, and a wrong setpoint looks exactly like a heating fault. If the display is steady but the oil clearly is not hot, the sensor or its wiring may be at fault — a supplier check.
Look at the load and the oil level. An overloaded basket draws more heat from the oil than the heating system can replace, so the temperature drops and stays low; a low oil level has a similar effect. Bring both back to the manual's levels and run a test batch. If the temperature still will not hold, note whether the problem follows one heating zone or the whole vessel, and whether it appears from the start of the day or only after several batches. Do not open the heating or control cabinet: heating elements, sensors and wiring inside the machine are supplier work.
Control panel alarms or unresponsive controls
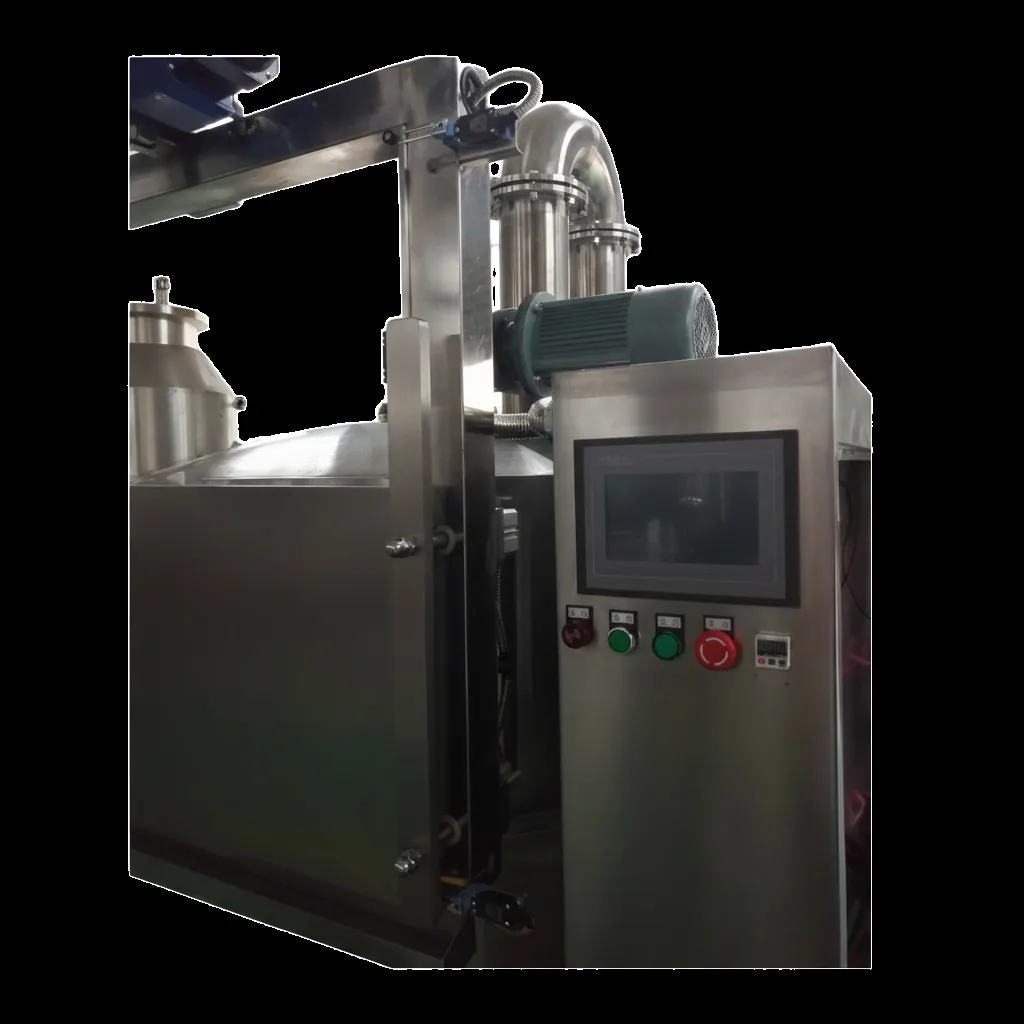
QS vacuum fryers are controlled by a Delta PLC with an MCGS touchscreen, which runs the frying cycle, the vacuum, the heating and the centrifuge. Most alarms report a condition the control system has already detected — a door not fully closed, a valve in the wrong position, a sensor reading outside its normal range — rather than a fault in the controls themselves.
When an alarm appears, read the message and write it down exactly, including any code the panel shows. Then check the condition it describes — door fully closed, valves in position, oil level right? Many alarms clear once the condition is corrected and the cycle is restarted the way the manual describes.
If the touchscreen does not respond, confirm the machine has power, look for a tripped breaker or an emergency stop that is still engaged, and check that no other alarm is holding the screen. Do not press the screen hard or repeatedly — force will not fix it and can damage it. Keep a record of your process settings outside the machine, so a control reset never loses them. If an alarm repeats after a reset, or the screen stays unresponsive, stop and contact your supplier with the alarm message and the steps you already tried. Never open the control cabinet.
When to stop and call the supplier
Good troubleshooting is knowing when to stop. Stop immediately if anything smells of burning, if oil is leaking from the machine, if the power trips, or if any part of the machine is hotter than it should be. Switch the machine off, let it cool, and do not run another batch until the supplier advises you.
Stop too when the cause is not visible: a fault that survives all the operator checks in this guide, an alarm that repeats after a reset, a vacuum that will not build with good seals, or a temperature that will not hold with the right load and oil level. Repeating the same failed batch wastes raw material and oil, and can turn a small fault into a larger repair.
Before you call, gather the facts your supplier will ask for: the model and serial number, the product and batch size, the exact symptom and when it started, the alarm message if there is one, and the checks you already made and their results. QS vacuum fryers carry a 1-year warranty, and the approximate lead time for a new machine is 3 months — keep both in mind when you plan spares and service.
QS vacuum fryer models
| Model | Batch size |
|---|---|
| QS-VF100 | 100KG/batch |
| QS-VF150 | 150KG/batch |
| QS-300 | 300KG/batch |
- Low-temperature vacuum frying at 80–100°C
- Oil content below 18% with in-chamber centrifugal de-oiling
- Delta PLC + MCGS touchscreen control
- 304 stainless steel construction
- QS-300 vessel: 2600mm high × 1600mm diameter
Frequently asked questions
Why is my vacuum fryer producing uneven colour in a batch?
Uneven colour usually comes from uneven loading or slices that vary in thickness. Spread the product in a single even layer, cut slices to a consistent thickness, and check the oil condition. If the problem follows one product or one loading pattern, the cause is almost always in the preparation, not the machine.
Why does my vacuum fried product come out too oily?
Too much surface oil usually means the de-oiling step did not run properly, the basket was overloaded, or the oil is past its best. Check that the centrifuge runs its full cycle inside the chamber, reduce the load to the level in your manual, and check the oil condition. A well-run process finishes with an oil content below 18%.
What should I check if my vacuum fryer will not build vacuum?
Check the operator-level items first: the door seal and its seating, the drain valve, and the visible pipe and hose connections for leaks. Clean the seal and its groove, close the door firmly, and confirm every valve is in its correct position. If the vacuum still will not build, stop and contact your supplier.
When should I stop troubleshooting and call the supplier?
Stop as soon as the cause is not visible, the problem involves the control cabinet or the vacuum pump internals, an alarm repeats after a reset, or anything smells of burning, leaks oil, or trips the power. QS vacuum fryers carry a 1-year warranty, and work inside the panel or the pump is supplier work. Keep a note of the symptom, the alarm message and what you already checked.
Talk to us about your vacuum frying line
Tell us your product, batch size and the problem you are seeing — we will help you work through it. See the range on our vacuum fryer page.
Specifications are for reference only and are subject to the final supplied equipment.