Why loading density decides the batch
Freeze drying removes water by sublimation: ice inside the product turns directly into vapor under vacuum, and that vapor must travel out of the product, off the tray, and to the cold trap. Everything about loading density is about that journey. A thin, even layer gives vapor a short, open path out. A thick, piled, or crowded load gives it a long, blocked one.
The practical consequence is simple: a batch finishes when its slowest tray finishes. One overloaded tray, one piled corner, one tray loaded twice as deep as the rest — and the whole batch waits for it, while the well-loaded trays sit done and waiting. Worse, if the batch is stopped on a timer instead of on dryness, the overloaded tray leaves the dryer still damp — the most common cause of a batch that looks finished but fails its shelf-life check.
Loading density is therefore not a detail to leave to the operator's eye. It is a process setting, like temperature or time — and like any setting, it should be decided per product, written down, and repeated.
Tray math: area, count, and batch size
Every QS-FD freeze dryer uses the same tray format — 400 x 600 mm stainless trays — so the loading math is the same across the range, only the count changes:
QS-FD series — tray capacity
| Model | Tray area | Trays | Batch |
|---|---|---|---|
| QS-FD-20 | 20.16 sqm | 84 | ~200 kg |
| QS-FD-100 | 103.68 sqm | 432 | ~1 t |
| QS-FD-200 | 207.36 sqm | 864 | ~2 t |
- Each tray measures 400 x 600 mm (0.24 sqm); tray count times 0.24 sqm gives the model's tray area.
- Batch weights are approximate and depend on the product — a light, bulky product and a dense, wet product fill the same trays very differently.
- Shared platform: SUS304 square chamber, -60°C, R404A/507, 4-zone heating to ±0.1°C (max 80°C), Siemens S7-200 PLC with CN/EN touchscreen, Roots + screw pumps, food-grade silicone seals.
Use the math in two directions. Working forward: divide your batch target by the tray count to get the average load per tray, and check that it is realistic for the product's thickness and form. Working backward: once a product's working layer thickness is proven, multiply it across the tray count to get the realistic batch size for that product — which is often different from the headline batch figure, and the honest number to plan around.
Specifications are for reference only and are subject to the final supplied equipment.
Layer thickness rules
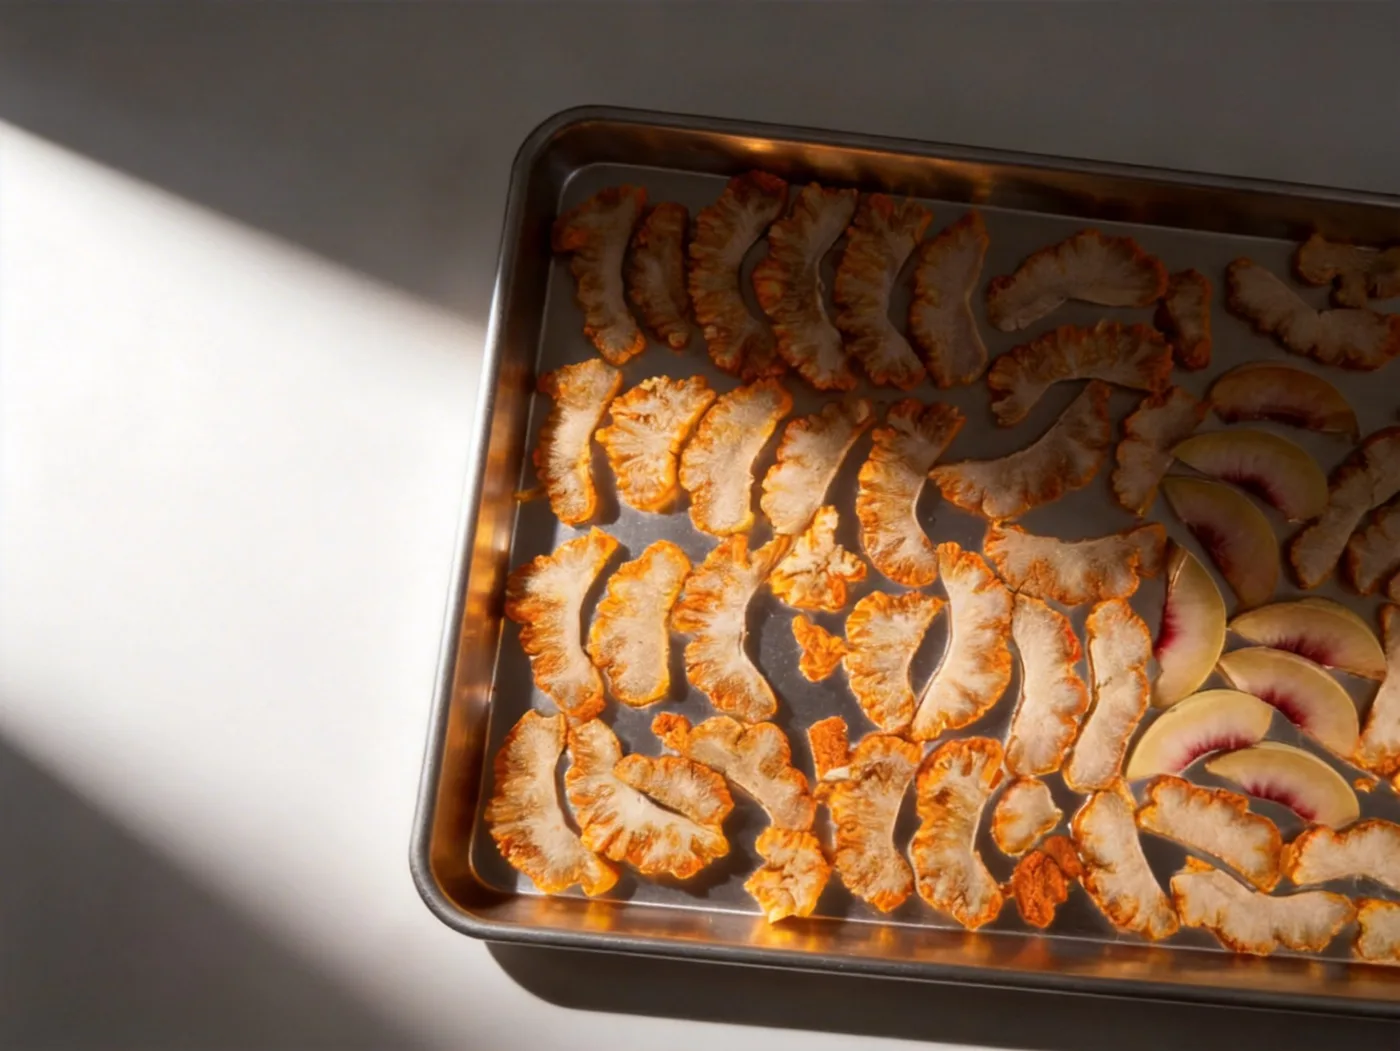
Thickness is the single most powerful loading variable. Vapor escapes from the top of the layer fastest and from the bottom slowest, so a layer twice as thick does not dry twice as slowly — it dries unevenly, with the bottom and center lagging behind the top.
- Single layer for pieces. Slices, berries, and cut pieces belong in one layer, touching lightly at most. A second layer on top of the first is not extra capacity — it is a lid that traps vapor.
- Even depth for pourable products. Liquids, purees, and yogurt portions should be poured or portioned to a uniform depth across the whole tray. A tray that is deep at one end and shallow at the other dries at two speeds.
- Thin beats thick for dense products. Dense, wet products — whole fruit pieces, meat, thick purees — dry from the outside in, and thickness is their bottleneck. Start thin, prove the result, and only then try deeper.
- Prove, don't assume. There is no universal thickness number: it depends on the product's water content, piece size, and structure. Trial trays at a modest thickness, check dryness across the tray, and record the thickness that works as that product's standard.
Spacing and the vapor path
Thickness is only half the story; the other half is the space around and above the product. Vapor needs a clear path off the tray and out of the chamber, and three spacing rules keep that path open:
- Leave gaps between pieces. Pieces packed edge to edge touch, trap vapor between them, and dry as one thick mat instead of many thin pieces. Small, even gaps let vapor escape from the sides as well as the top.
- Do not load to the tray rim. Product heaped above the rim blocks the gap to the shelf above and stops vapor leaving the tray. Keep the load below the rim, with headroom for vapor to move.
- Keep the shelf above clear. The shelf above a tray is part of the vapor path, not spare loading area. Product stacked on a shelf instead of in a tray disrupts heating and blocks vapor for the tray below.
Think of each tray as a shallow pan with an open sky above it. Anything that closes that sky — a second layer, a heaped rim, a blocked shelf — slows the whole tray down.
Loading patterns by product form
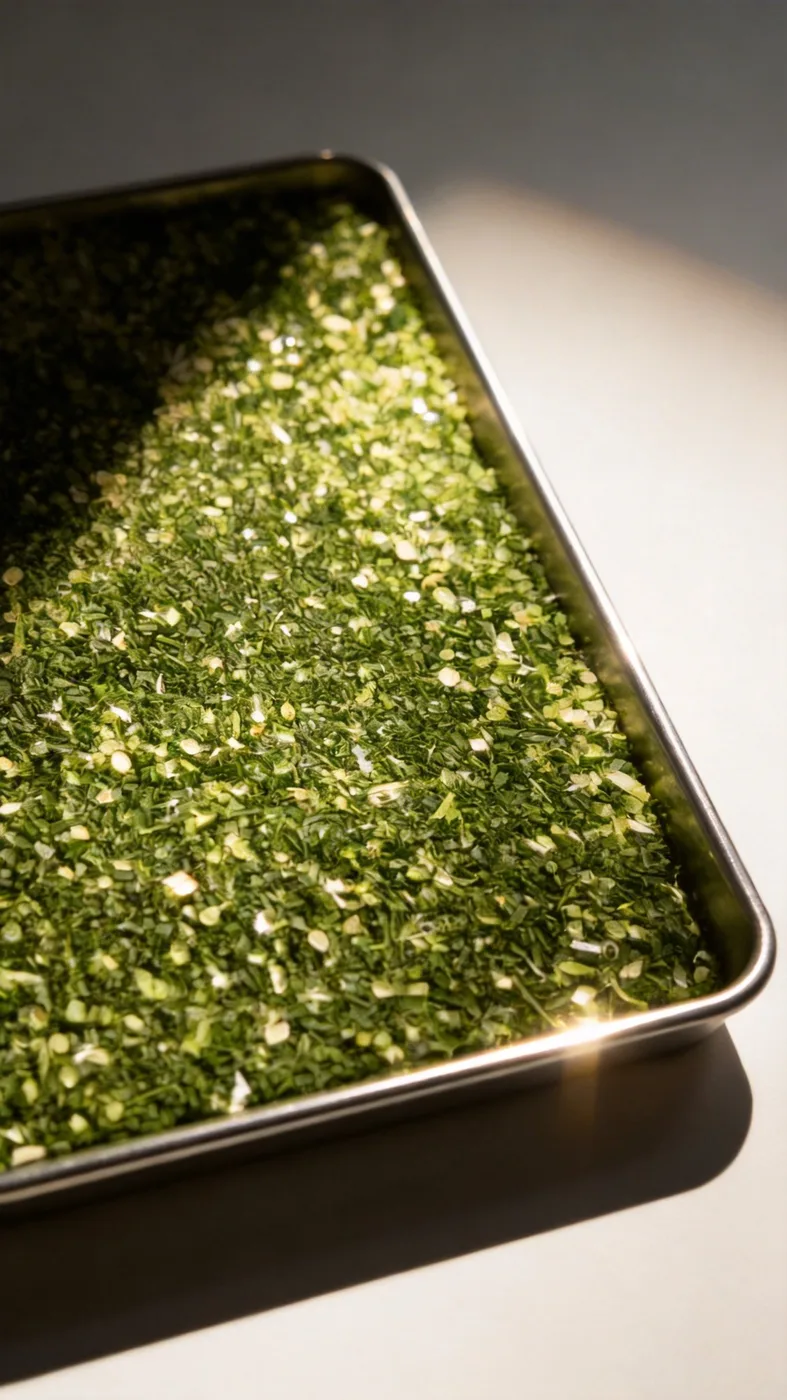
Different forms load differently, and the pattern should match the form:
- Slices and flat pieces. Lay flat in a single layer with small gaps. Overlapping slices dry as a double layer at the overlap — the most common loading fault with fruit and vegetable slices.
- Whole small pieces. Berries, peas, and diced pieces spread in a single layer with room between them. A single layer of small pieces has a large surface area, which is an advantage — as long as the pieces stay in one layer.
- Chopped and loose products. Greens, herbs, and chopped vegetables spread evenly and loosely, not pressed down. Pressing compacts the layer, closes the gaps, and turns a loose product into a dense mat.
- Liquids and purees. Poured to a uniform depth, edge to edge but not over the rim. Liquids level themselves, which helps — but check the tray is level before pouring, or the depth will vary across the tray.
- Soft portions. Yogurt bites, drops, and molded pieces spaced in a grid so they do not touch after freezing. Portions that freeze together dry together — as one larger, thicker piece.
Whatever the form, the rule is the same: every piece should see the same conditions as every other piece — same thickness, same gaps, same exposure. Uniform input is what makes uniform output possible.
Common loading mistakes
- Topping up a half-empty tray. Adding a second product to a half-loaded tray mixes two drying rates in one tray. The tray finishes at the slower product's pace, and the faster product is over-dried.
- Loading by weight alone. Weighing the same kilograms onto every tray sounds uniform, but a kilogram of light, bulky product and a kilogram of dense product are very different layers. Load by layer and form first, and use weight only as a check.
- Ignoring the edges. Trays near the chamber door and the chamber walls can see slightly different conditions from trays in the center. If edge trays consistently lag, that is a loading and placement signal, not a reason to overload the center trays to compensate.
- Rushing the loading step. Loading is the last manual step before a cycle that runs for many hours. Ten extra minutes spent loading evenly is repaid across the whole batch; ten minutes saved here is paid back with interest in uneven dryness.
A loading checklist for every batch
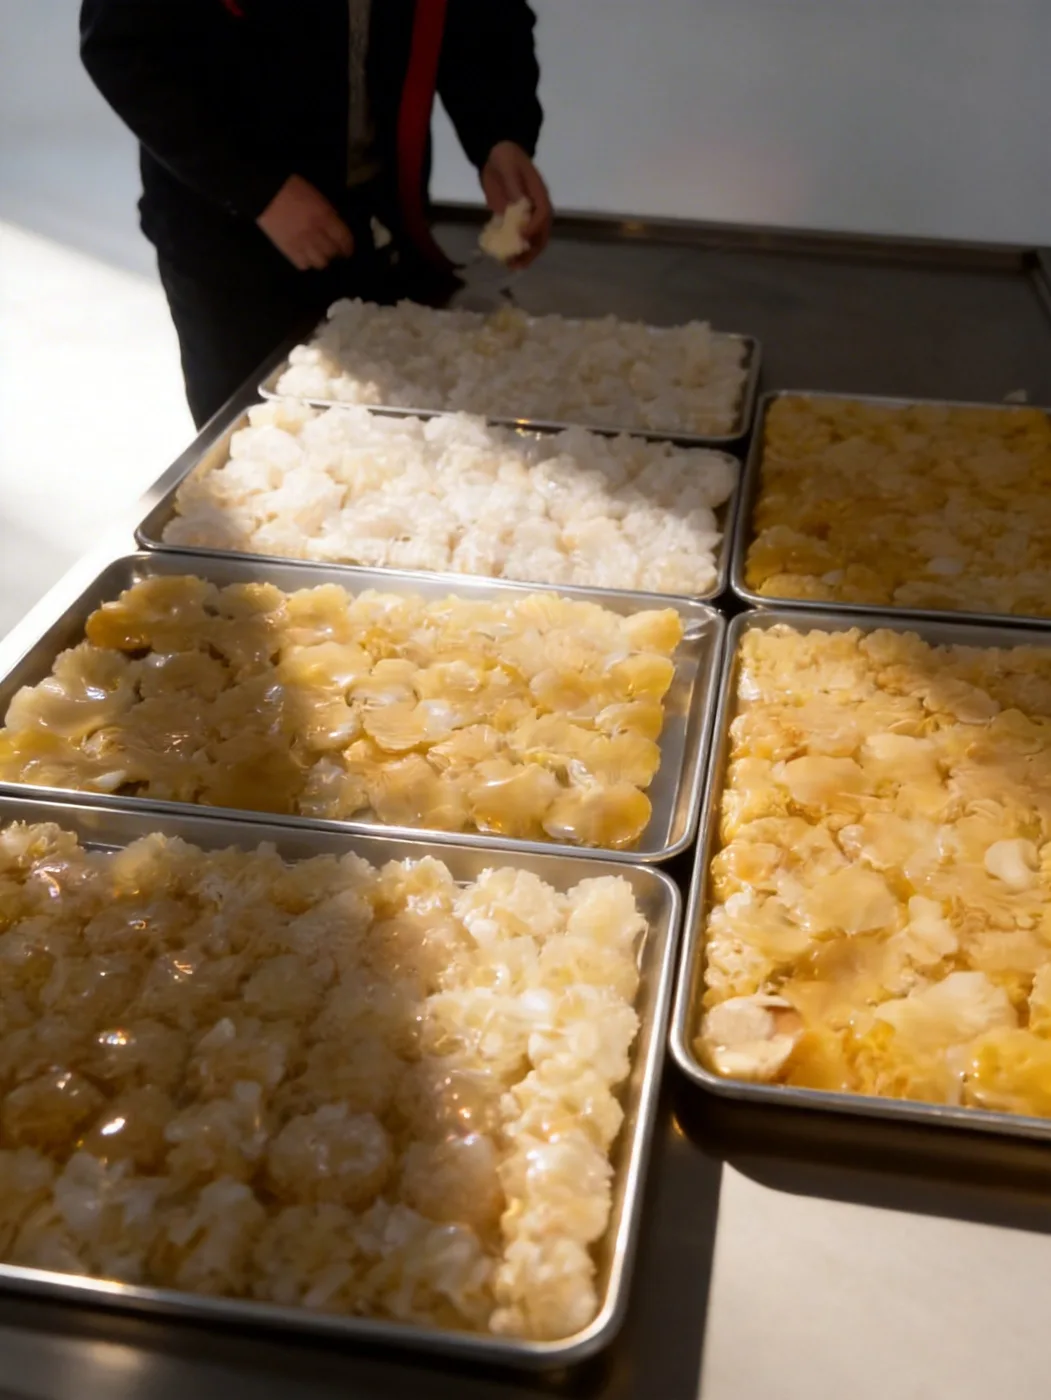
- Confirm the product standard. Layer thickness, piece spacing, and pieces per tray — written down for this product, not improvised at the bench.
- Check tray condition. Clean, dry, undamaged trays. A bent tray does not sit level, and an unlevel tray loads unevenly.
- Load one product per tray. No mixing products or thicknesses on a single tray.
- Check uniformity before the door closes. Walk the rack: every tray at the same depth, same gaps, below the rim. Fix the uneven tray now, not after the cycle.
- Record the load. Product, tray count, and layer notes for the batch record — so a good batch can be repeated and a bad batch can be explained.
- Verify the result. After drying, check dryness across trays — top, middle, bottom, edges — before packing. See our guide on confirming a freeze drying cycle is complete for the checks that matter.
Loading density is unglamorous work, and it is where most freeze drying quality is won or lost. The dryer can only preserve what loading prepared evenly — and a batch loaded well is a batch that finishes together, packs confidently, and repeats next time.
Frequently asked questions
What is tray loading density in freeze drying?
Tray loading density is how much product is spread on each tray: the layer thickness, the spacing between pieces, and how evenly the load is spread. It decides how fast water vapor can leave the product, so it decides how evenly and how quickly a batch dries.
Is a thicker layer on each tray more efficient?
Not past a point. A thicker layer holds more product per tray, but water vapor must travel further to escape, so the center and bottom of the layer dry last. The batch then runs longer, and the risk of uneven dryness rises — the time saved on tray count is often lost on cycle time.
Should trays be loaded identically across a batch?
Yes — as closely as possible. Trays that carry different amounts finish at different times, and the batch can only end when the slowest tray is done. Uniform trays give a uniform batch, and make results repeatable from one run to the next.
How do I find the right loading for a new product?
Start from the tray area and tray count of your machine, load trial trays at a modest thickness, and check the result with your own product testing — dryness, texture, and appearance across trays. Record the loading that works, and treat it as that product's standard, not as a guess for the next product.
Plan your freeze drying line
Tell us your target output and which products you process — we'll help you size the freeze dryer and set the tray plan. Explore the range on our freeze dryer page.
Specifications are for reference only and are subject to the final supplied equipment.